
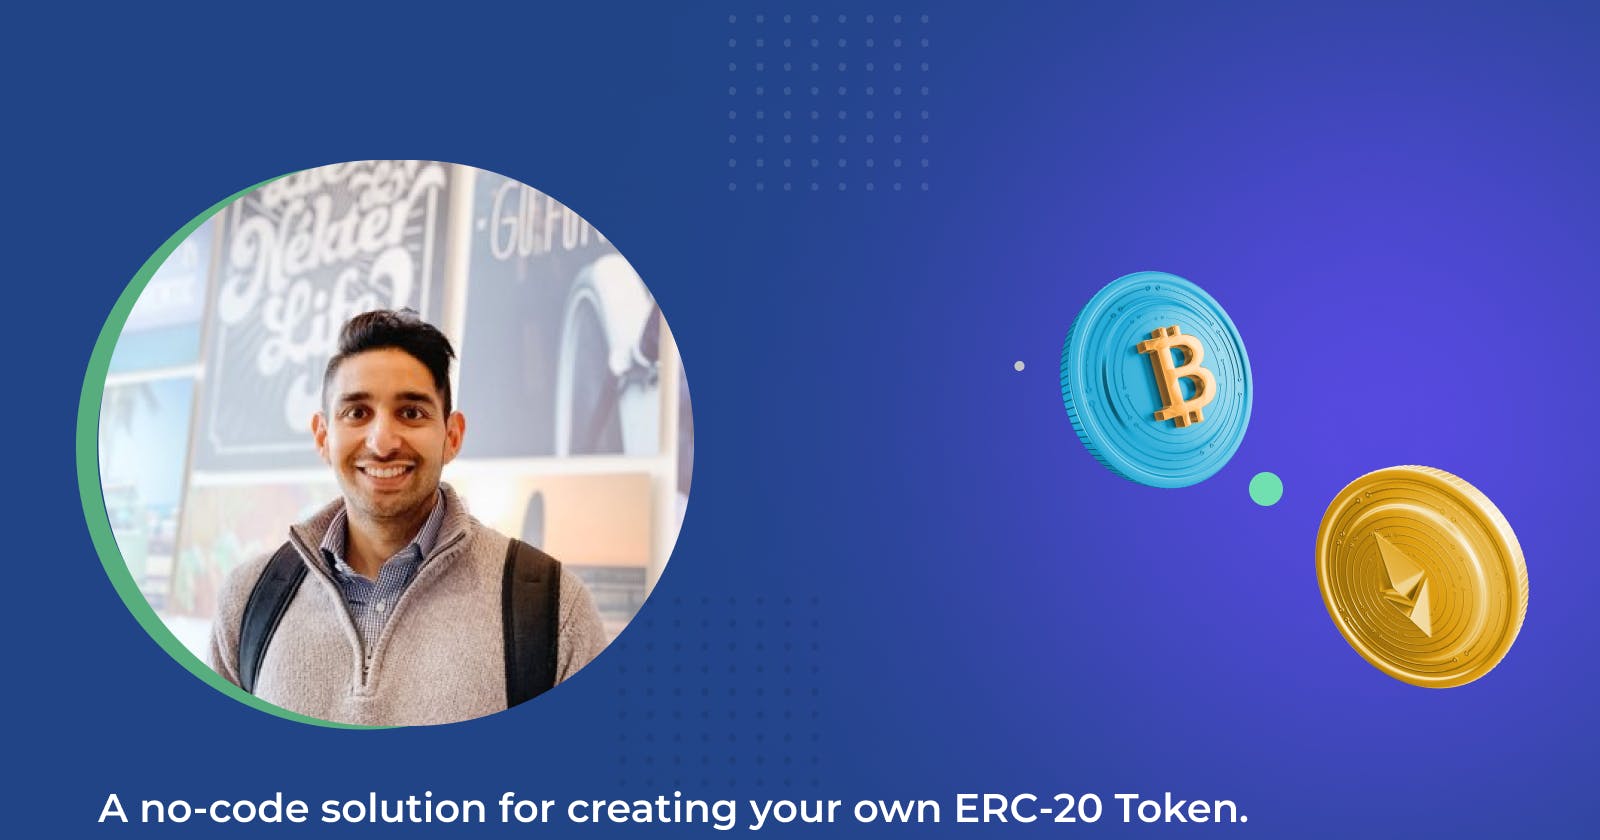
Create your own TOKEN all on your phone with Thirdweb
A no-code solution for creating your own ERC-20 Token.


What are we building
Your very own ERC-20 token on the polygon network
Requirements:
- A mobile wallet (I will be using Rainbow)
- Polygon wallet address
- Matic Tokens
- Thirdweb account
What is Thirdweb :
Thirdweb is a set of tools that helps developers to build, launch, and manage web3 projects. Thirdweb helps to add NFTs and web3 features for projects. Thirdweb provides smart contracts, SDKs, and UI components that creators, game studios, and developers can integrate into their apps.
I love it because it takes out the complexity of creating the most common smart contracts. Like the one, we are going to use for creating our Token.
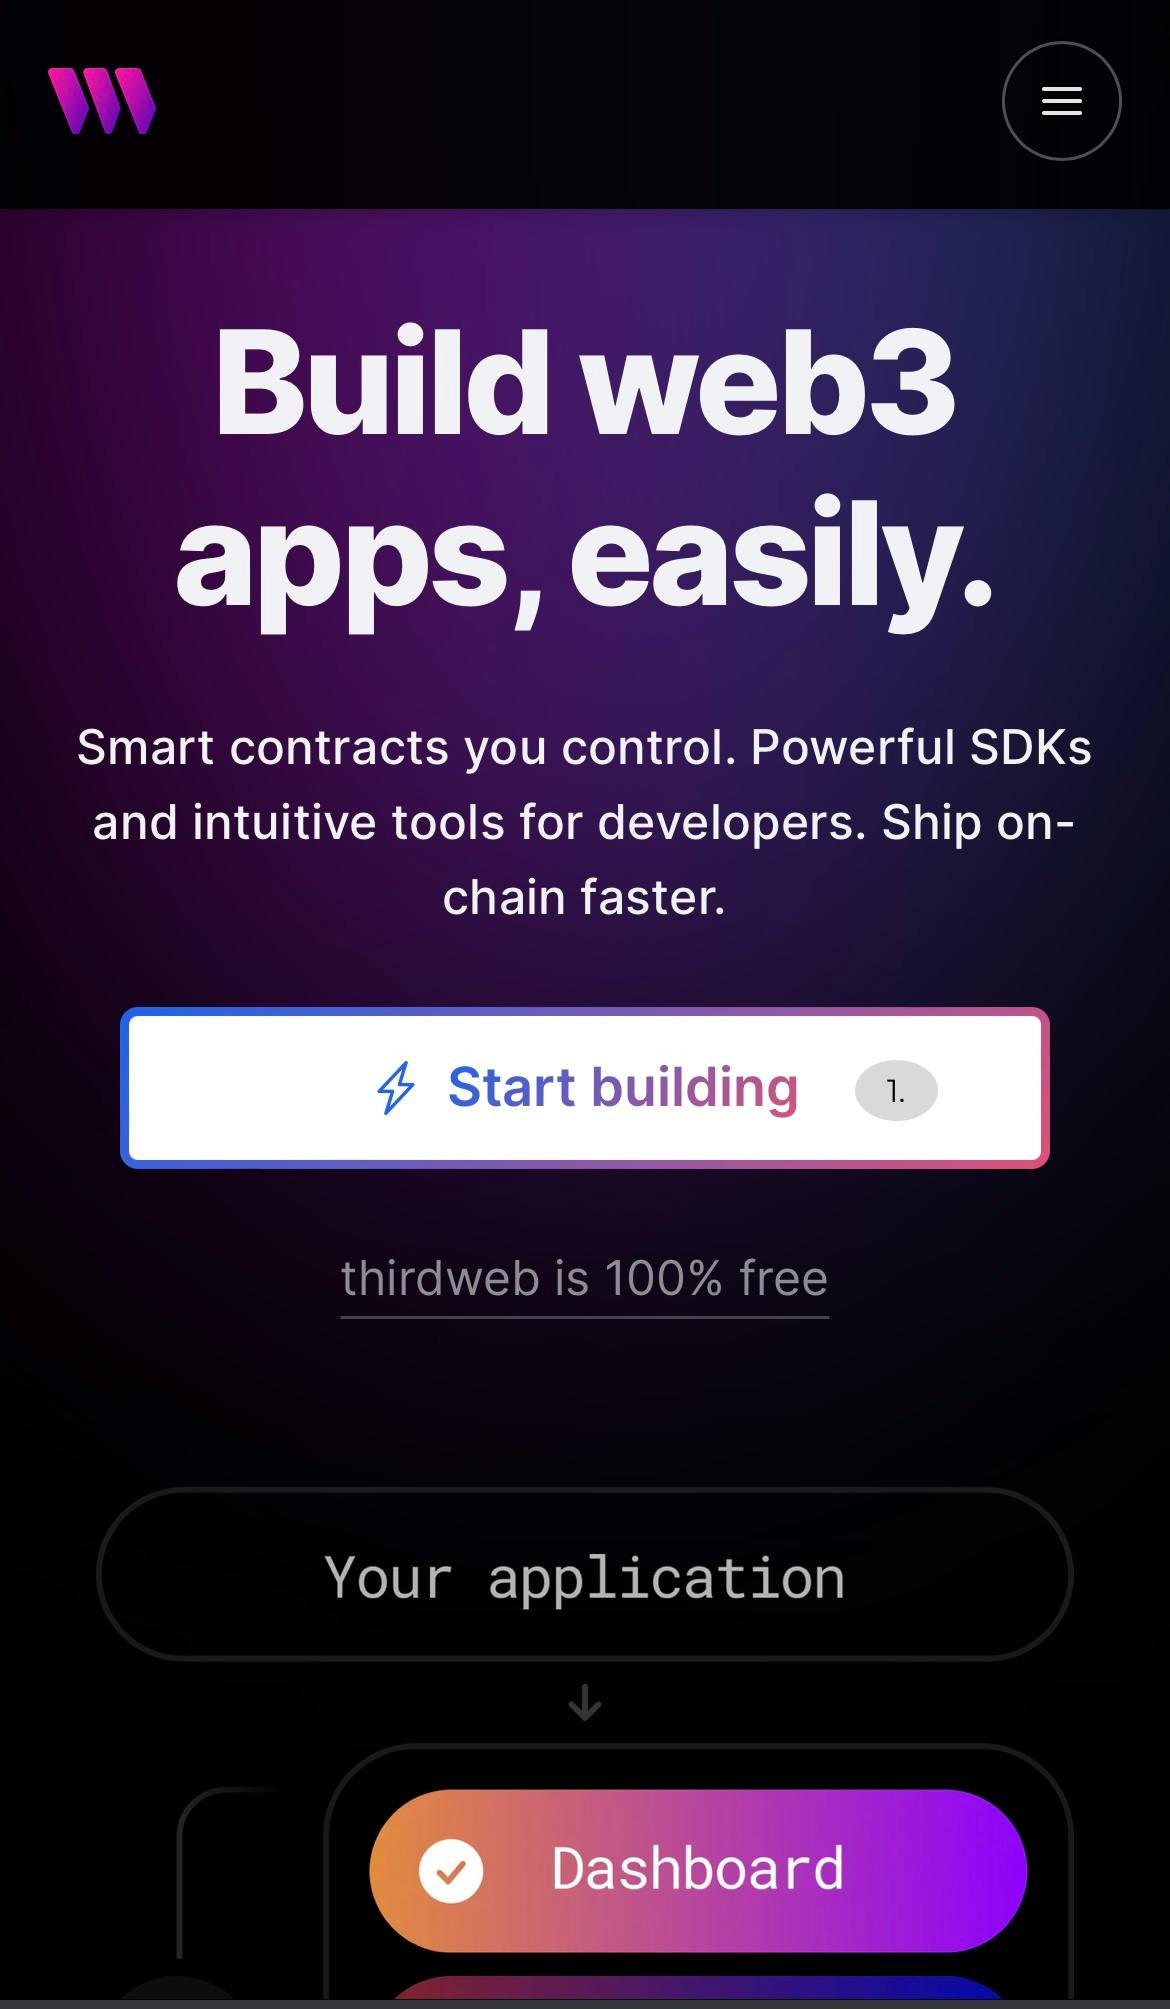
Setting Up A ThirdWeb account
1. Navigate to thirdweb.com. Click the ‘Start building’ button and let's get to it.
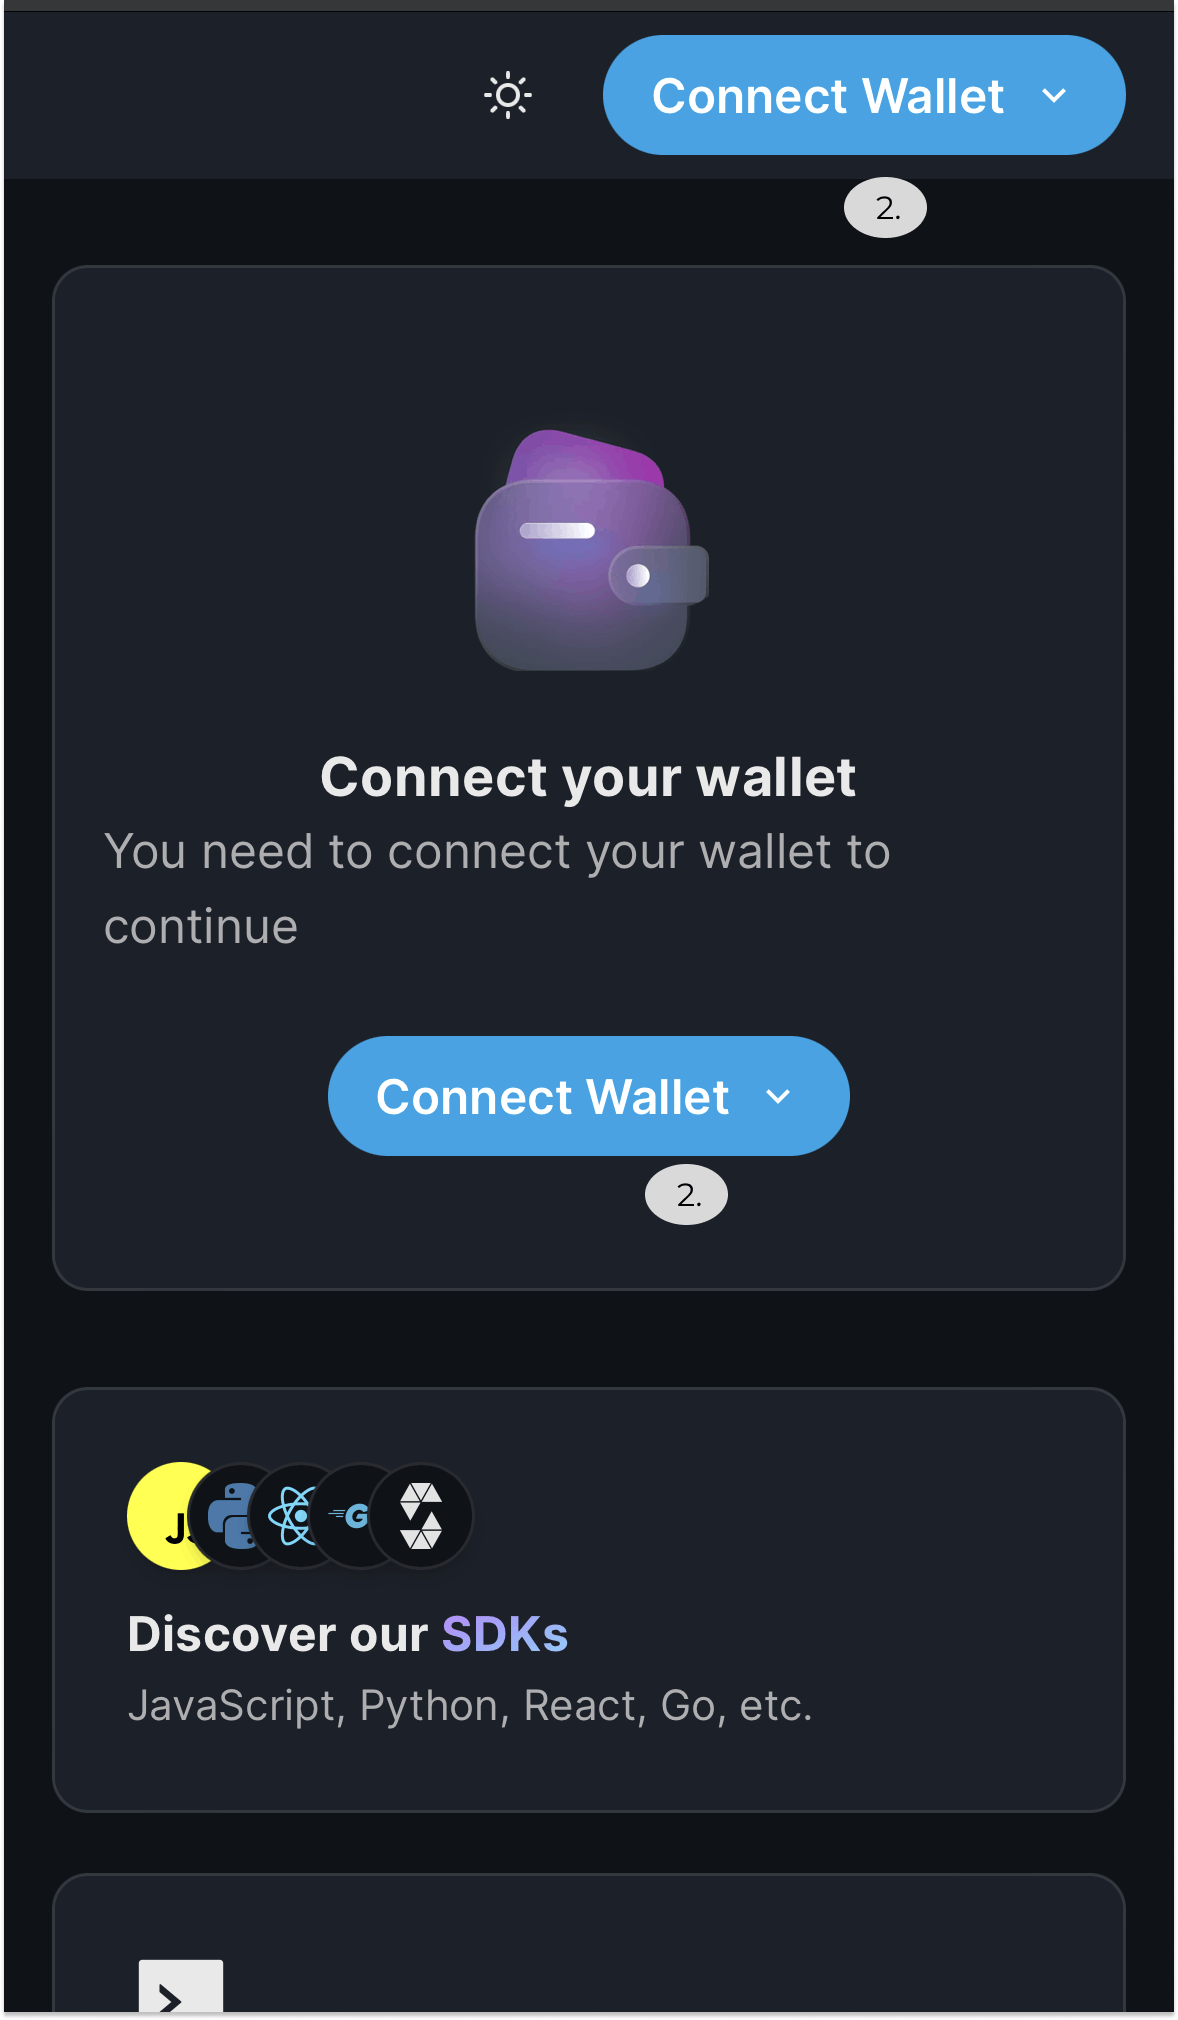
Creating an account on Third Web
2. One of the best things about web3 is, that it is so simple to create an account.
All you need to do is connect your wallet.
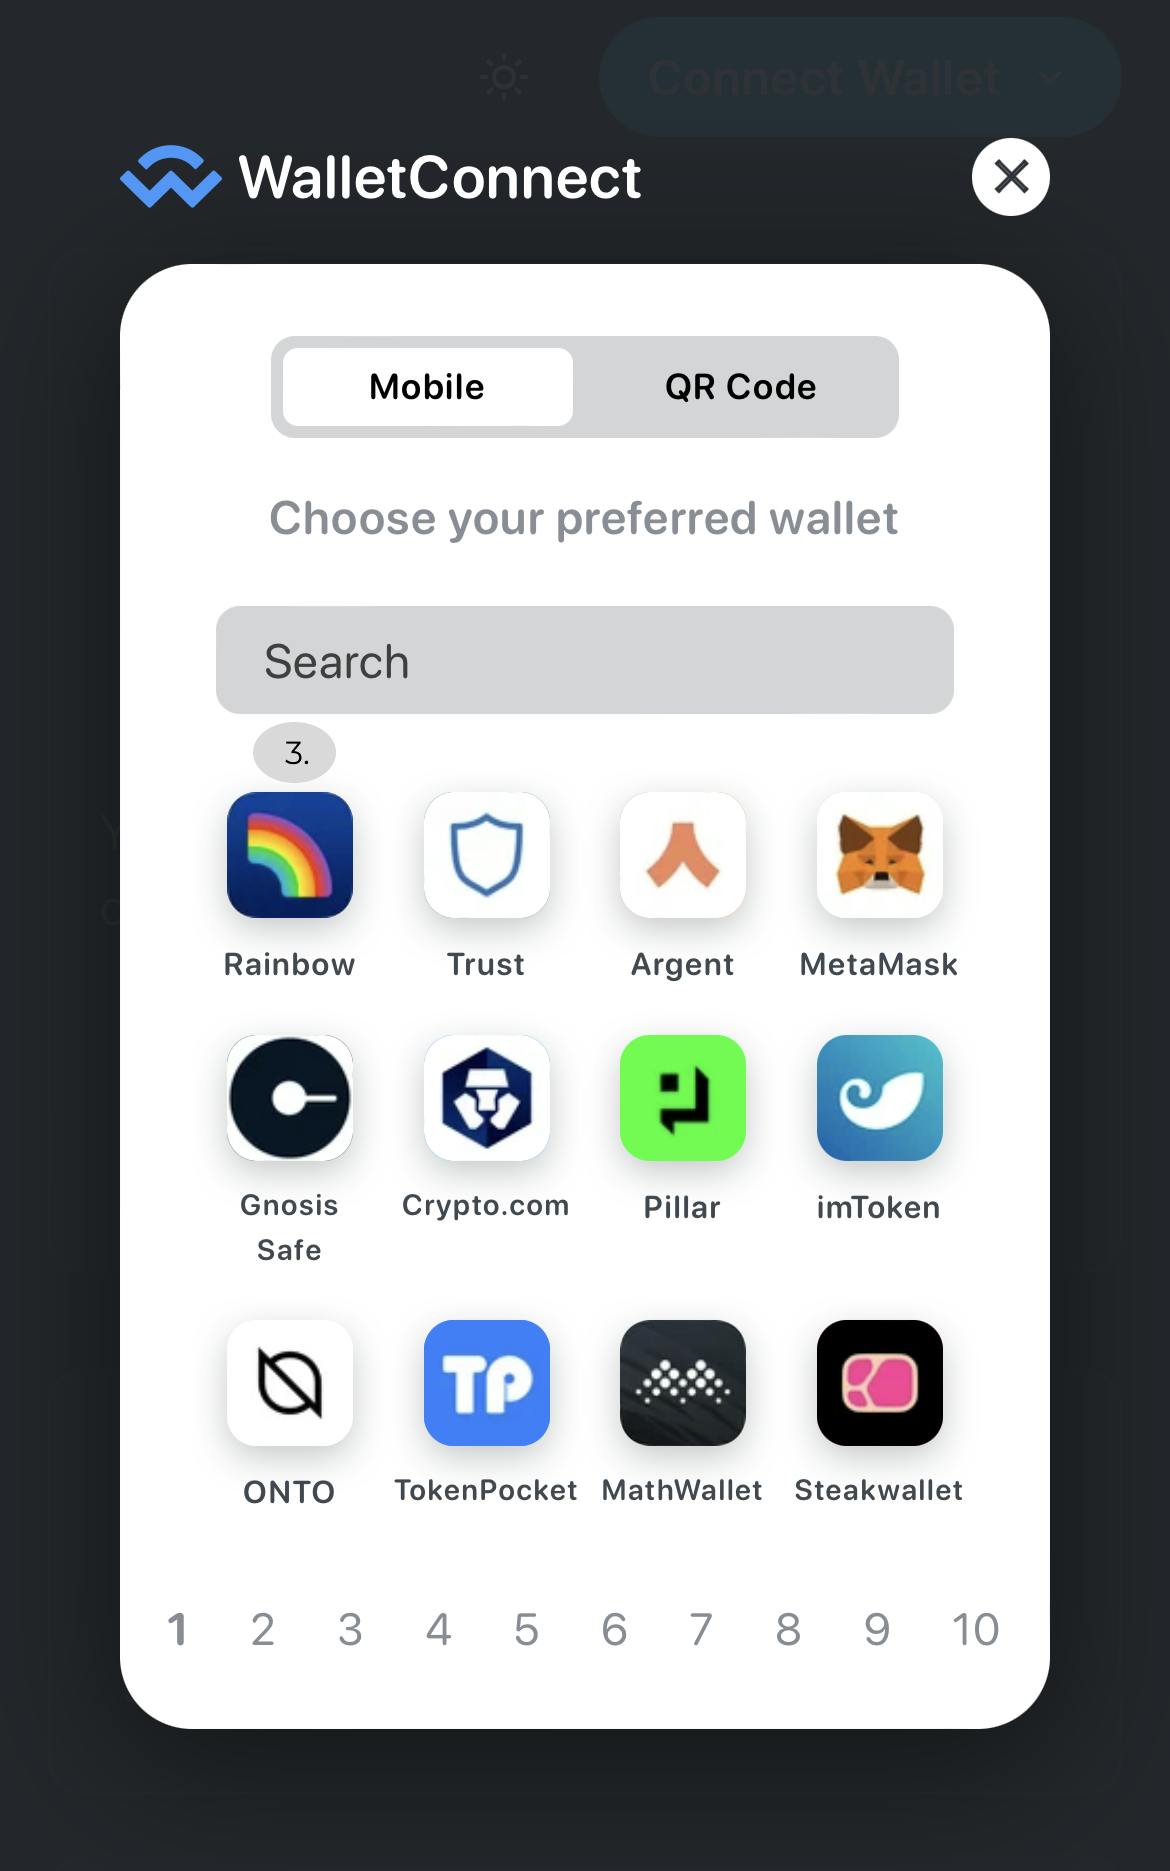
What is WalletConnect :
WalletConnect is an open-source protocol for connecting decentralized applications to mobile wallets
What is Rainbow :
Rainbow, is a mobile wallet app that allows users to interact with decentralized applications on the Ethereum blockchain
3. Pick WalletConnect and then your favorite mobile wallet. I will use Rainbow.. [Rainbow.] (rainbow.me)
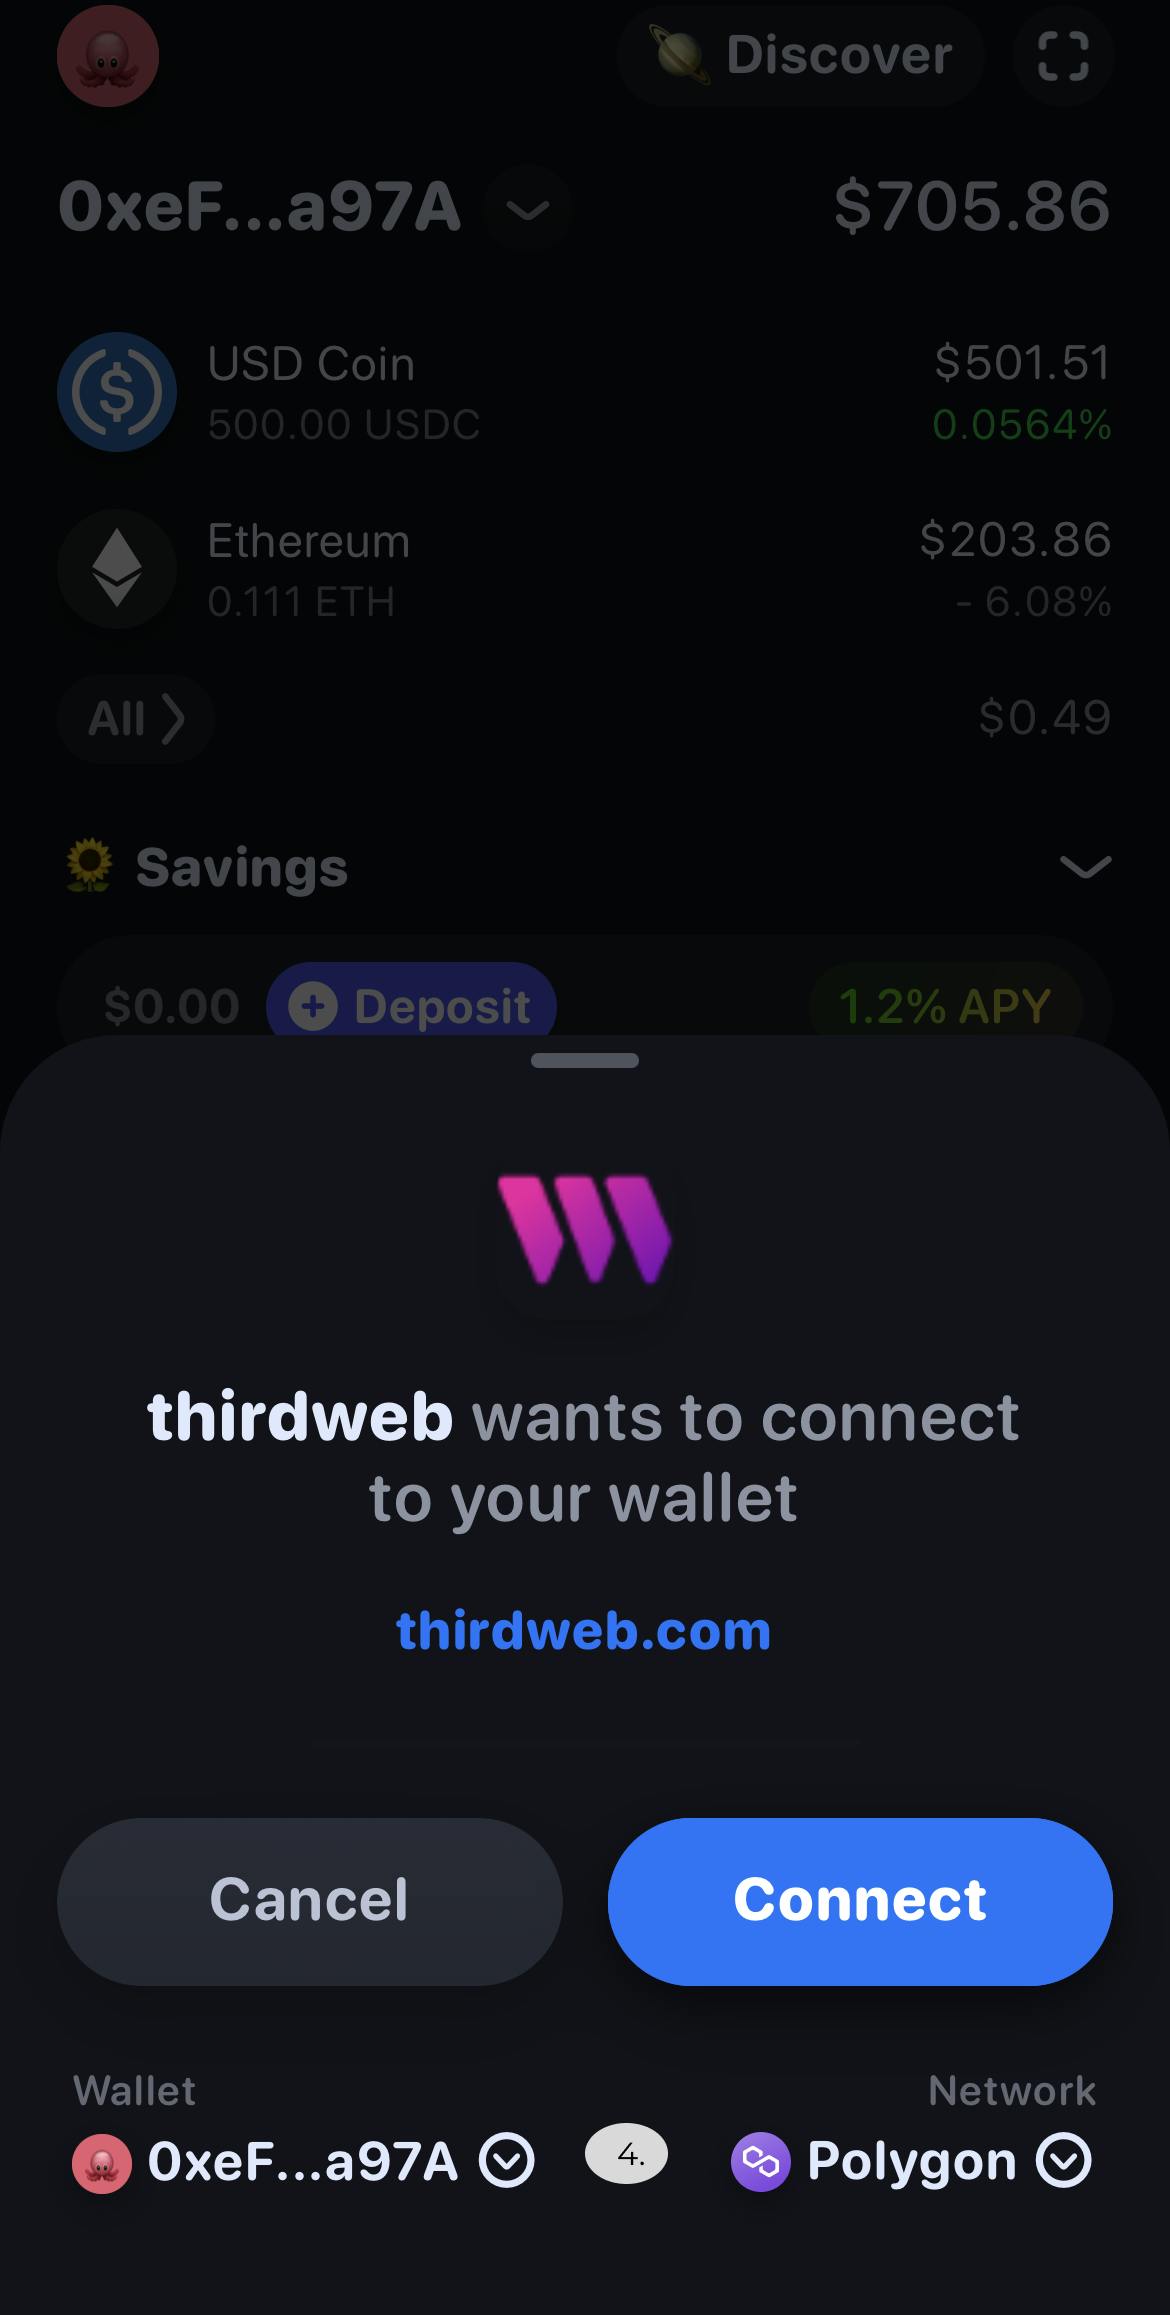
4 . Please choose Polygon and hit connect.
We will use Polygon because it is very inexpensive to deploy a token on the main network.
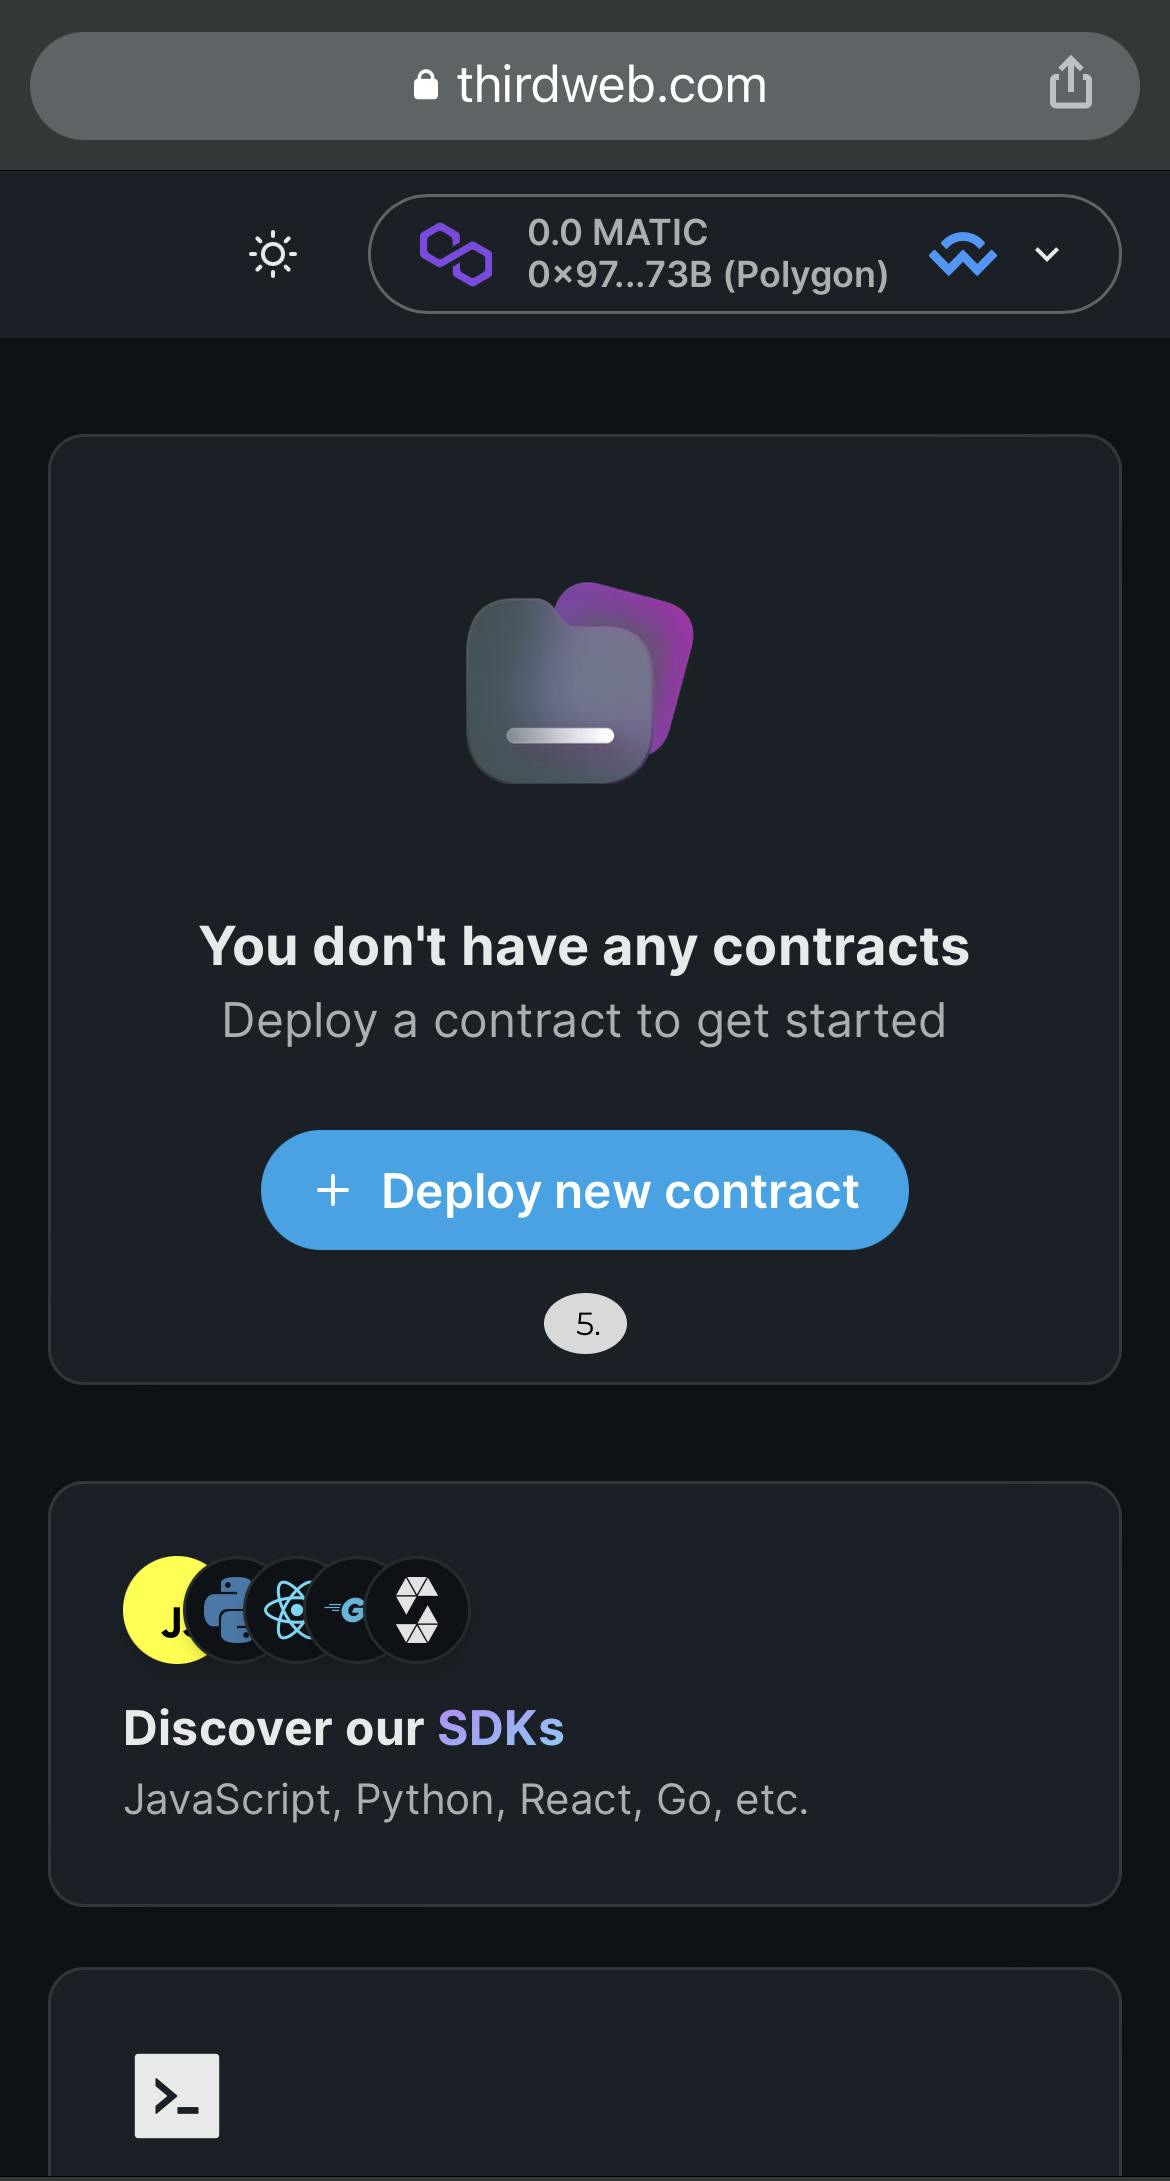
5. Once connected, click the ‘Deploy new contract’ button in the middle of the screen.
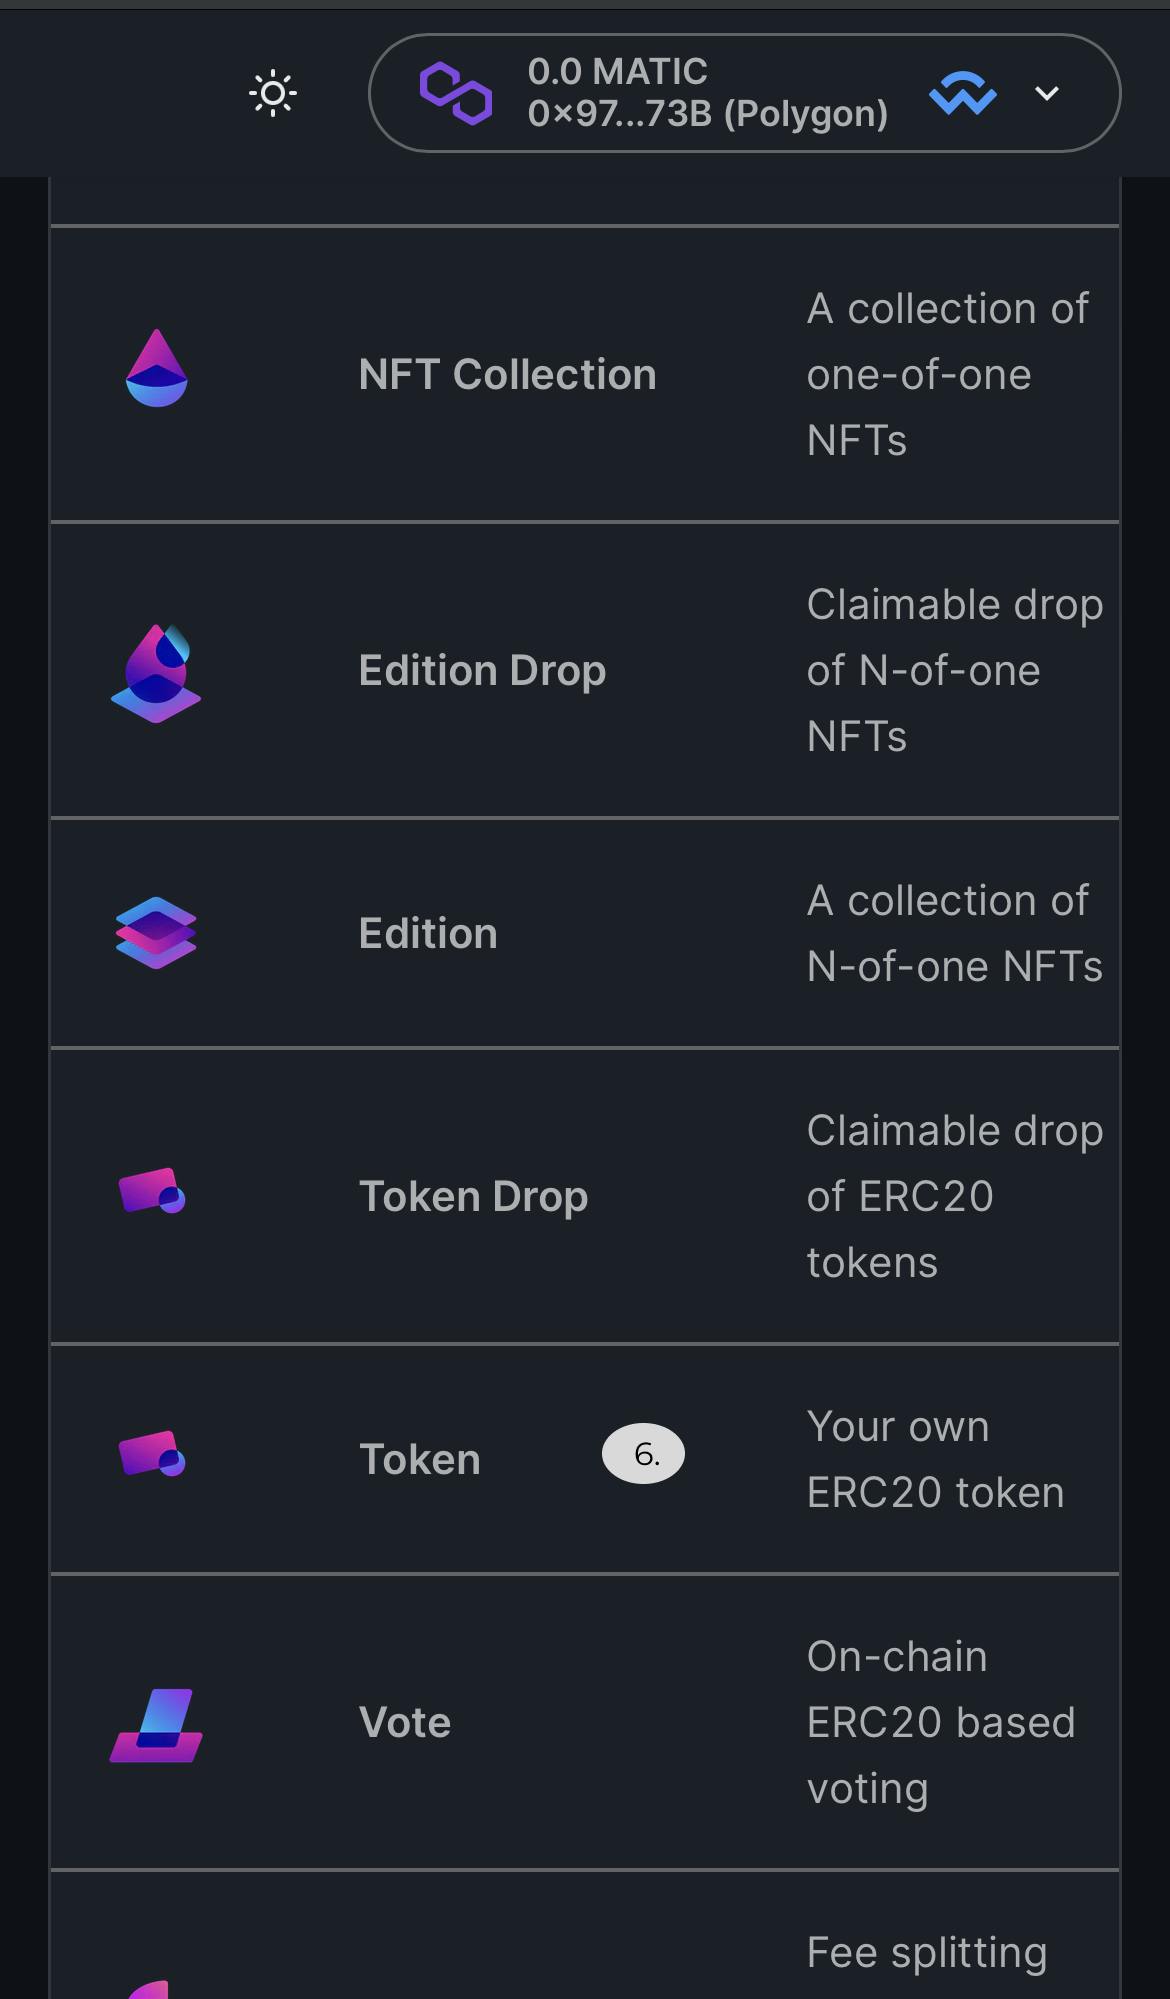
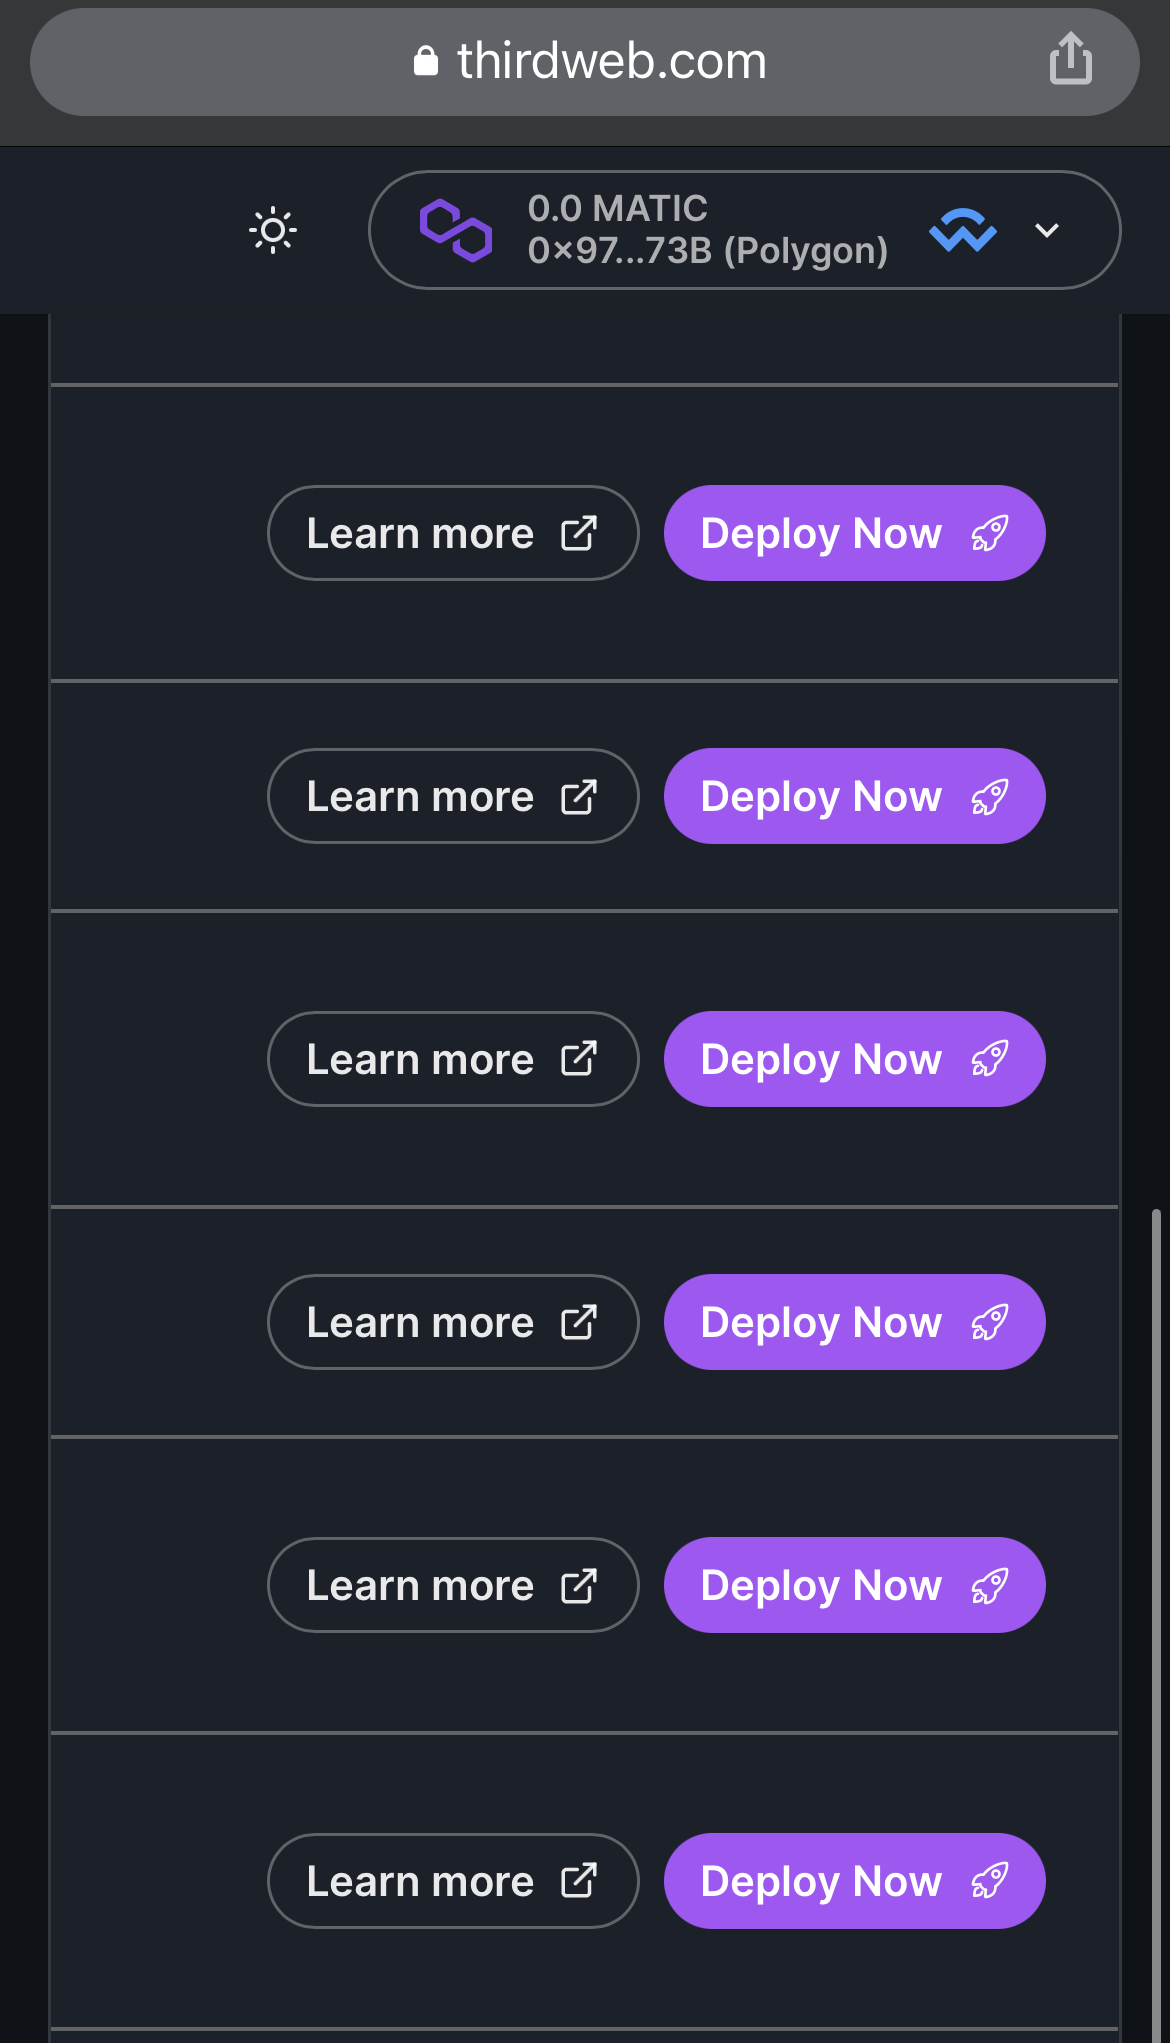
6. Scroll down and find your own ERC20 token, and then scroll all the way to the right until you see ‘Deploy Now’.
How these templates work:
When you deploy one of the pre-built contracts using thirdweb, it’s essentially creating a copy or an instance of our contract’s code, and deploying it for yourself.
Imagine that we’re building smart contract templates, and you’re taking that template, customizing it to how you like it, (giving it a name, specifying the parameters), and then using this template to deploy a fully audited, optimized smart contract that is specifically tailored and 100% owned and by you.
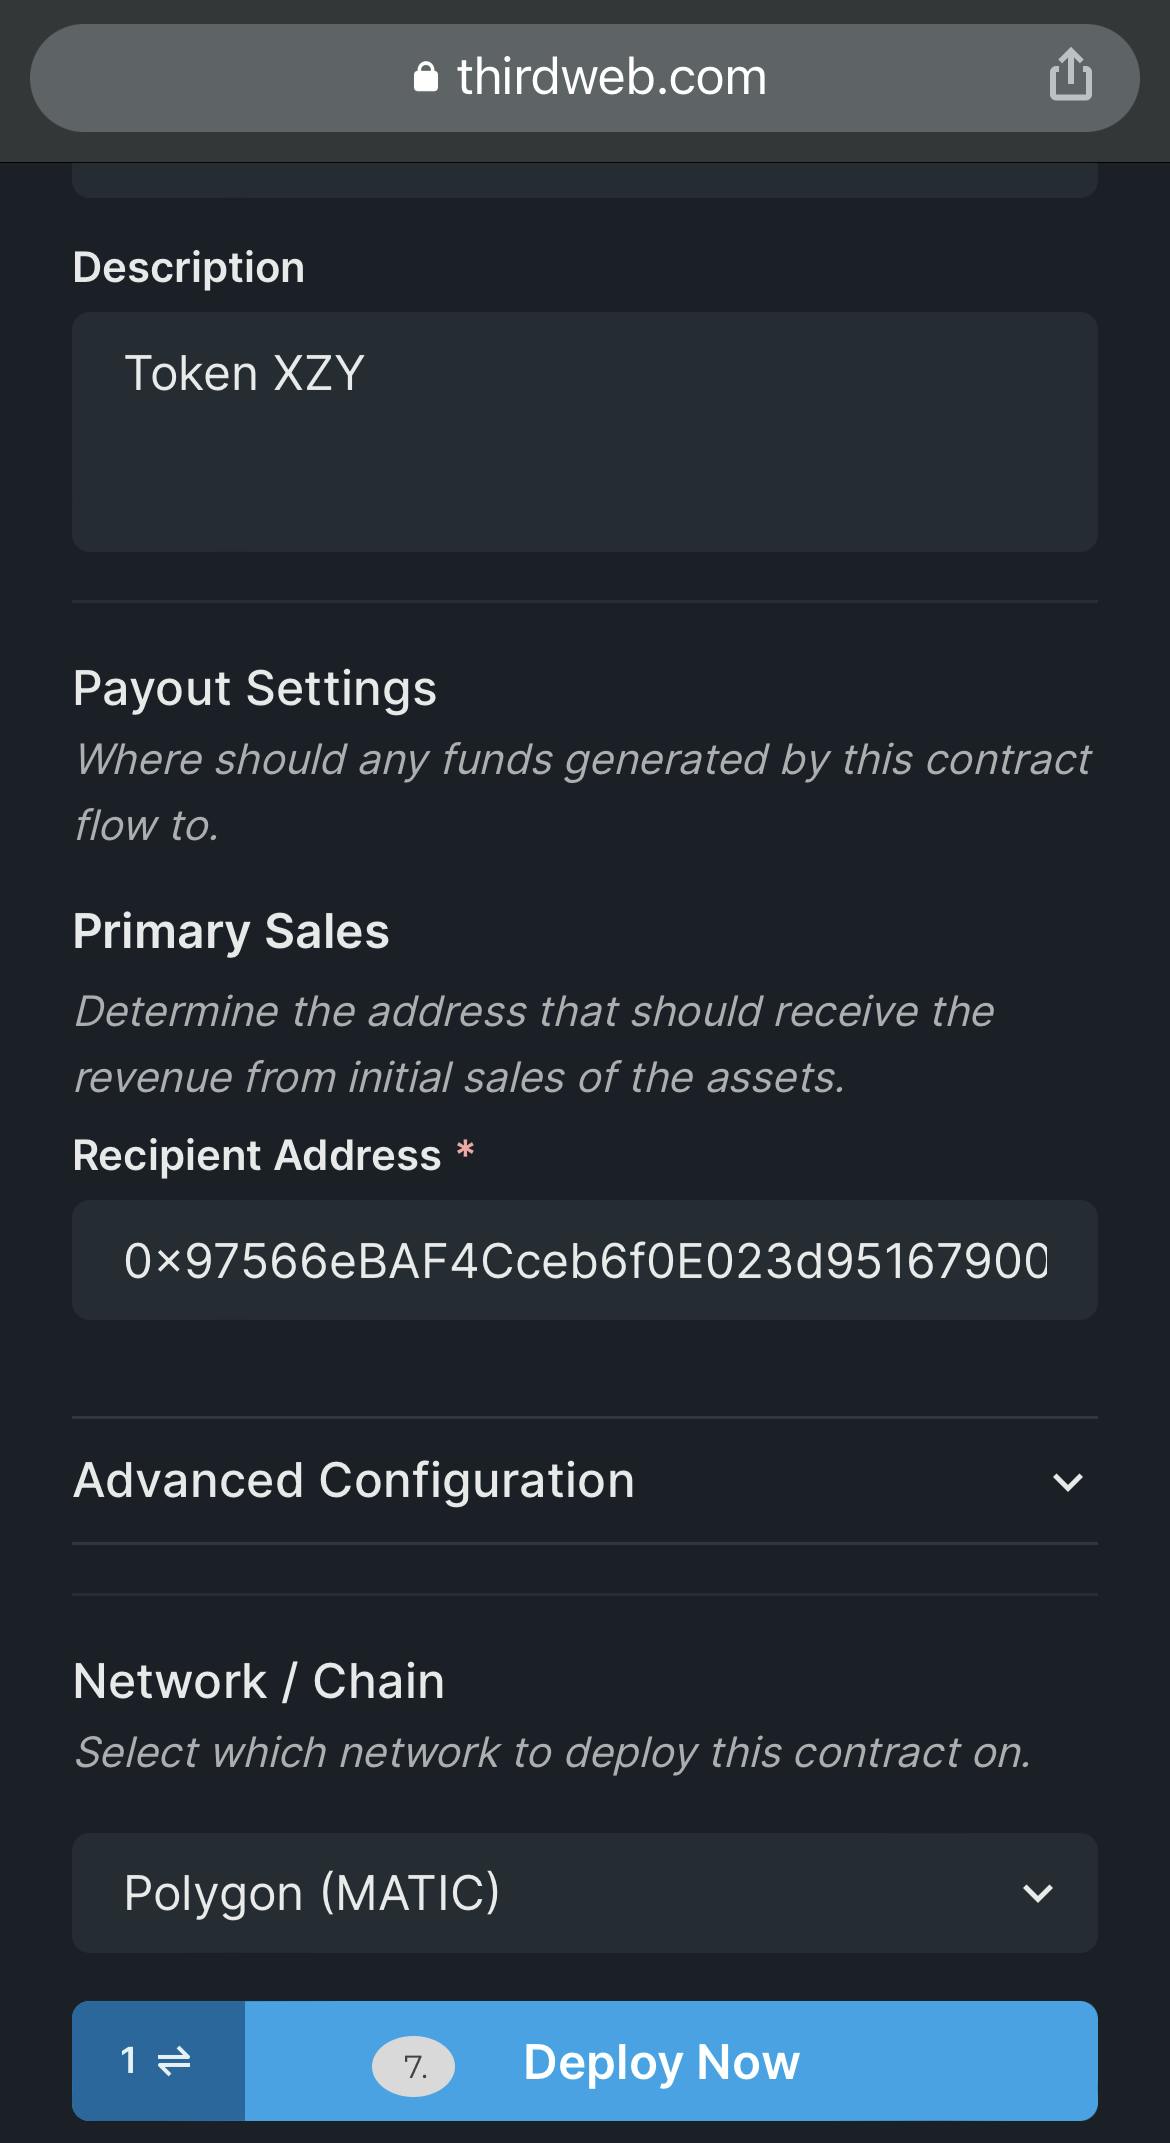
7. Fill out all the mandatory fields, and select ‘Polygon’ as the network you would like to deploy the smart contract to.
Image : Upload what you think represents your token.
Name : Token XZY(My Token Name)
Symbol : XZY (Like how ETH represents Ethereum)
Recipient Address: Leave as current default, which would be your own wallet address.
This determines the address that should receive the revenue from the initial sales of the Tokens. For example, we are not planning to sell them.
Advanced Configuration :
Recipient Address: Leave as current default, which would be your own wallet address.
This setting is used for additional fees for all primary sales that happen on this contract. (This is useful if you are deploying this contract for a 3rd party and want to take fees for your service.)
Description: I used for example: 'This is the new cool XZY Token' (Set your own cool description about your new Token)
Network / Chain: Polygon(Matic)
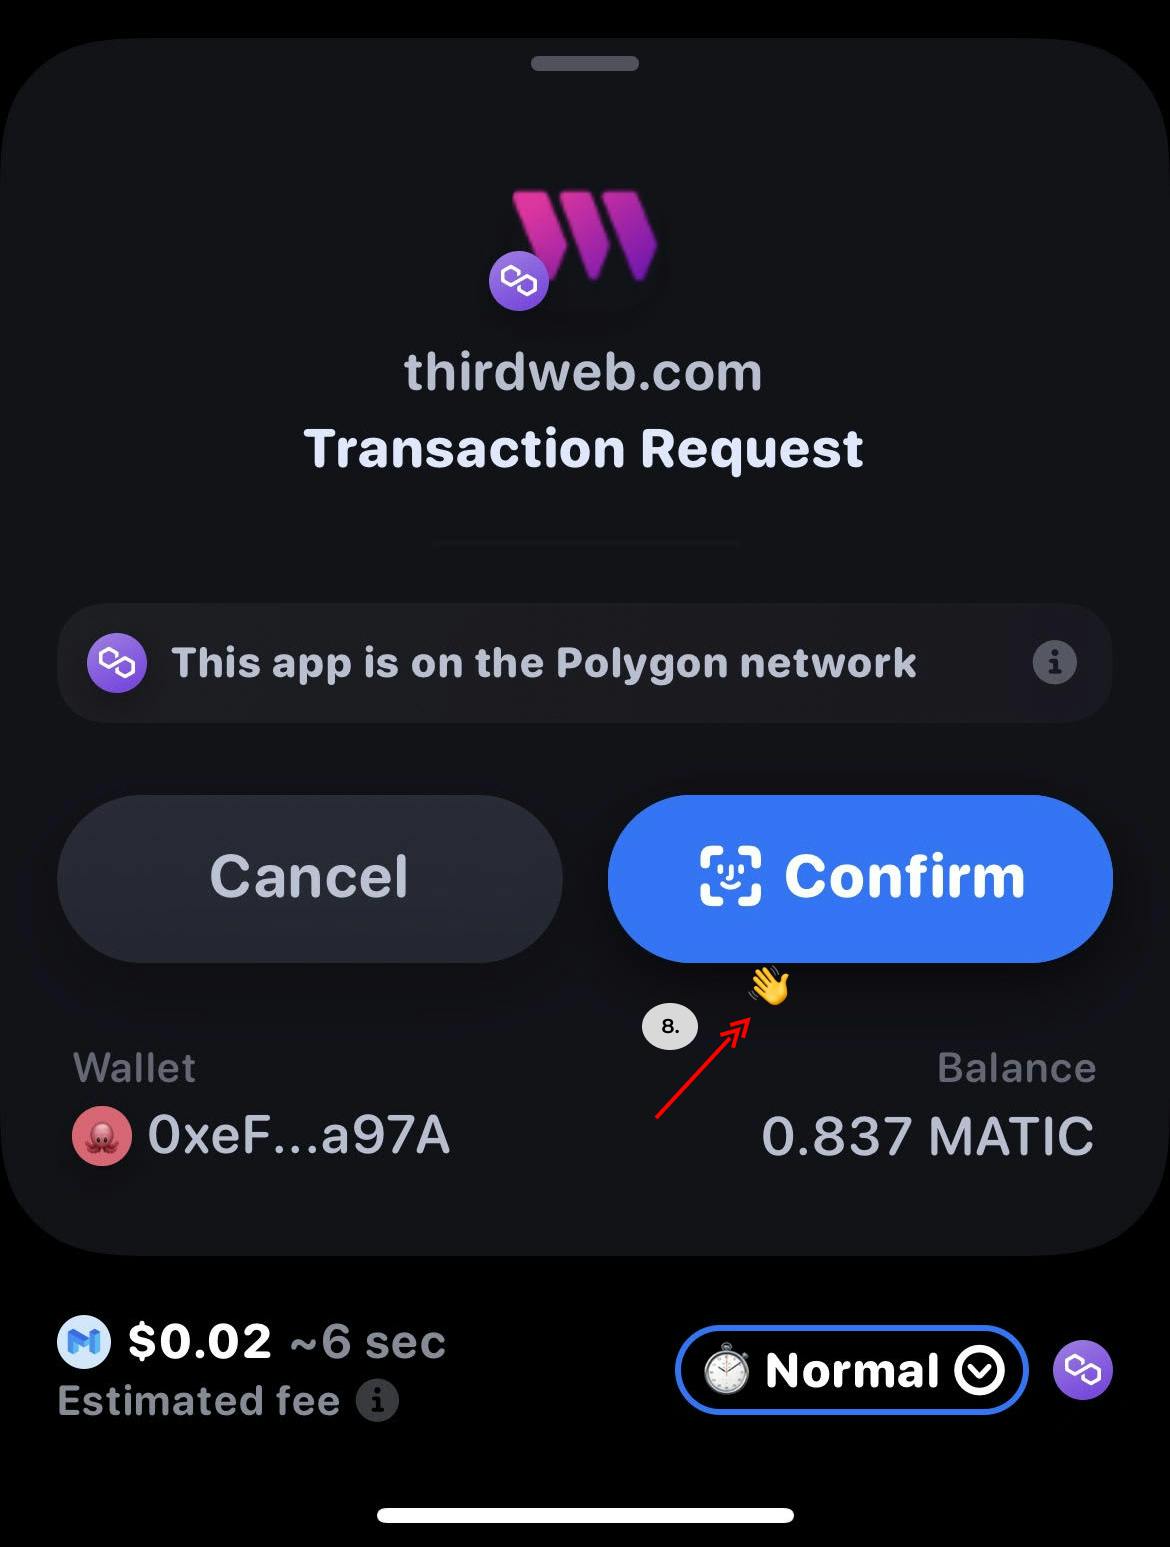
8. You will be prompted to confirm the transaction
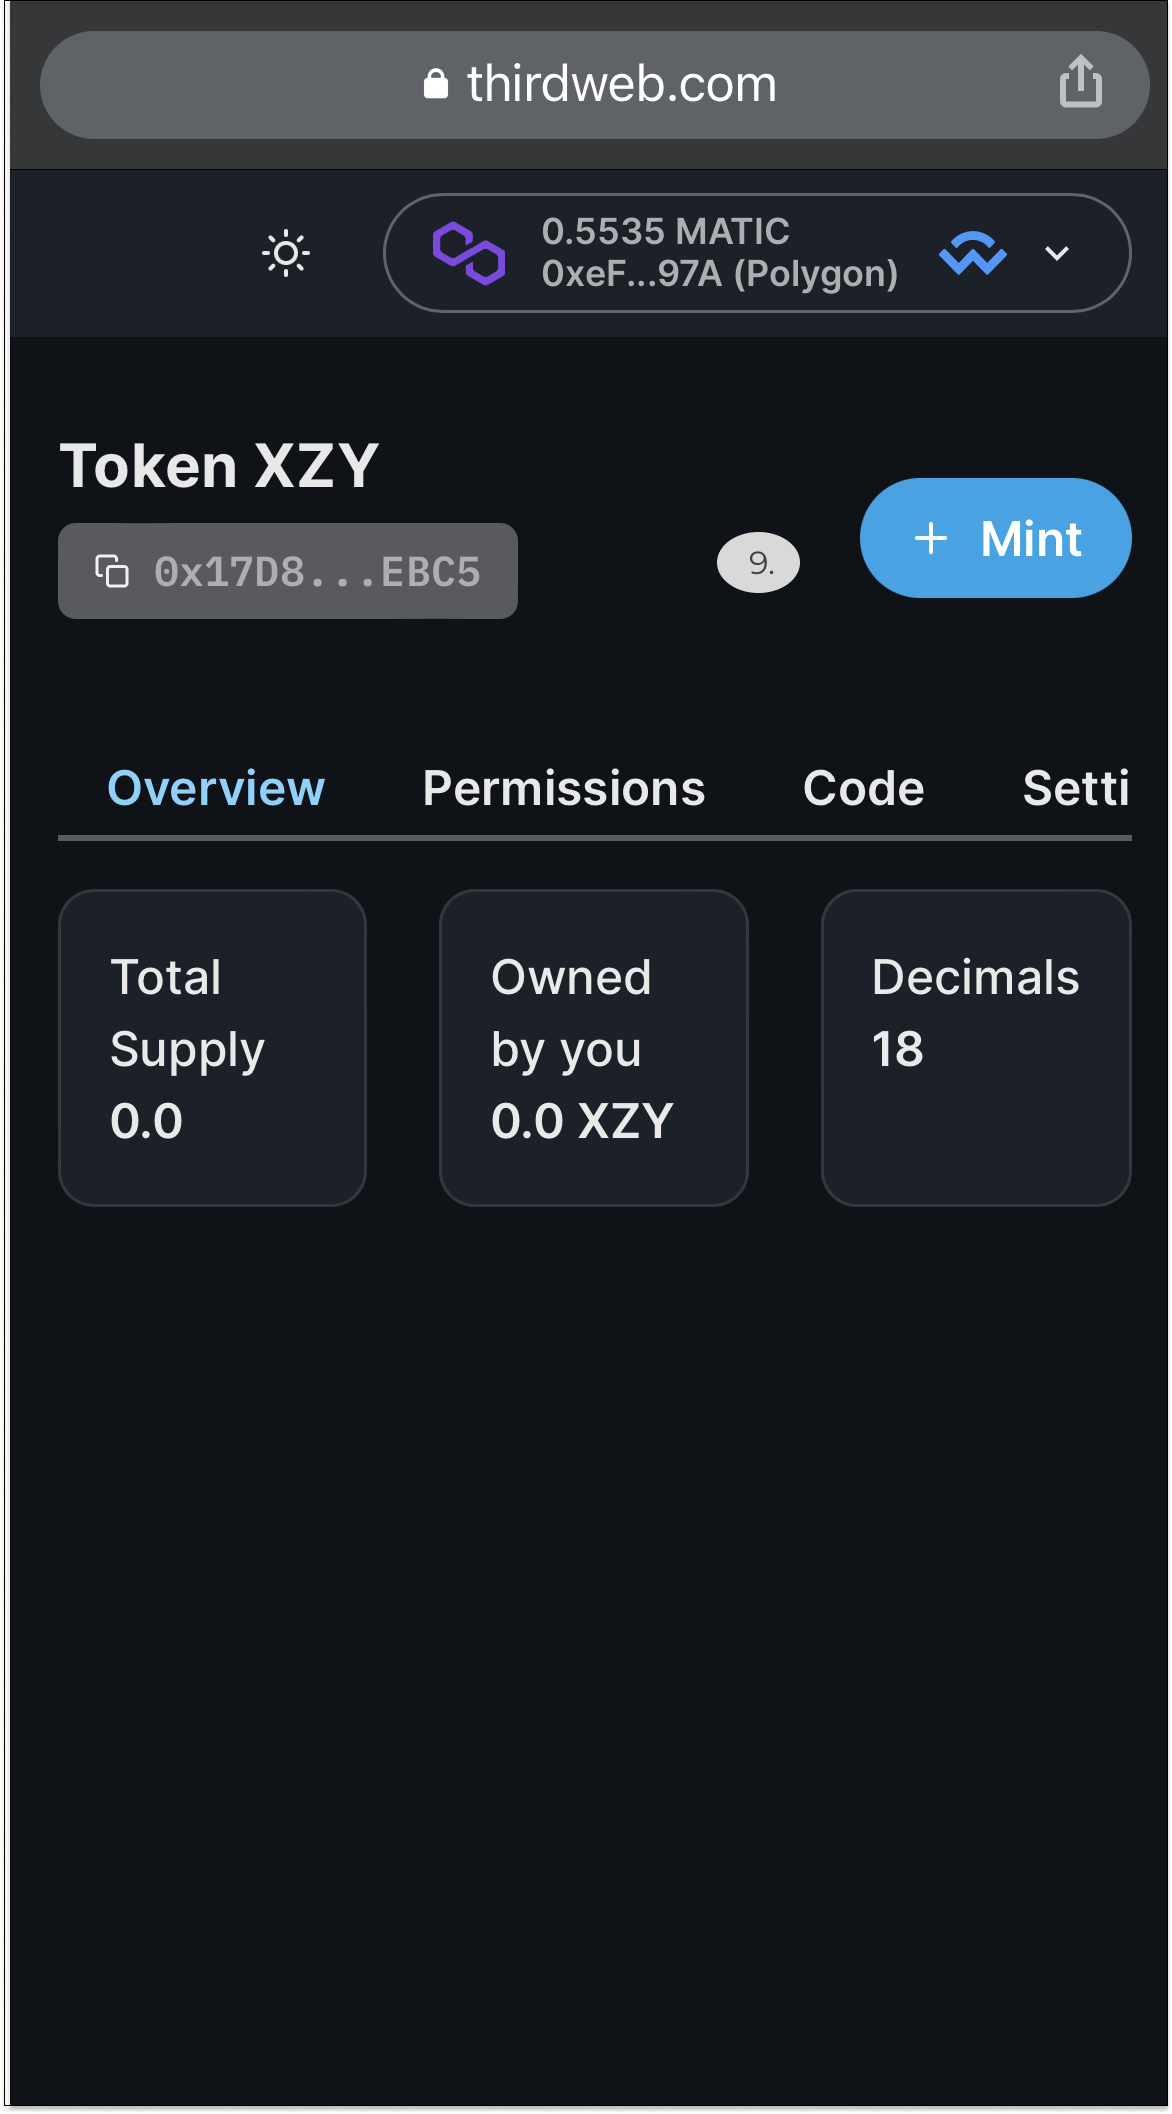
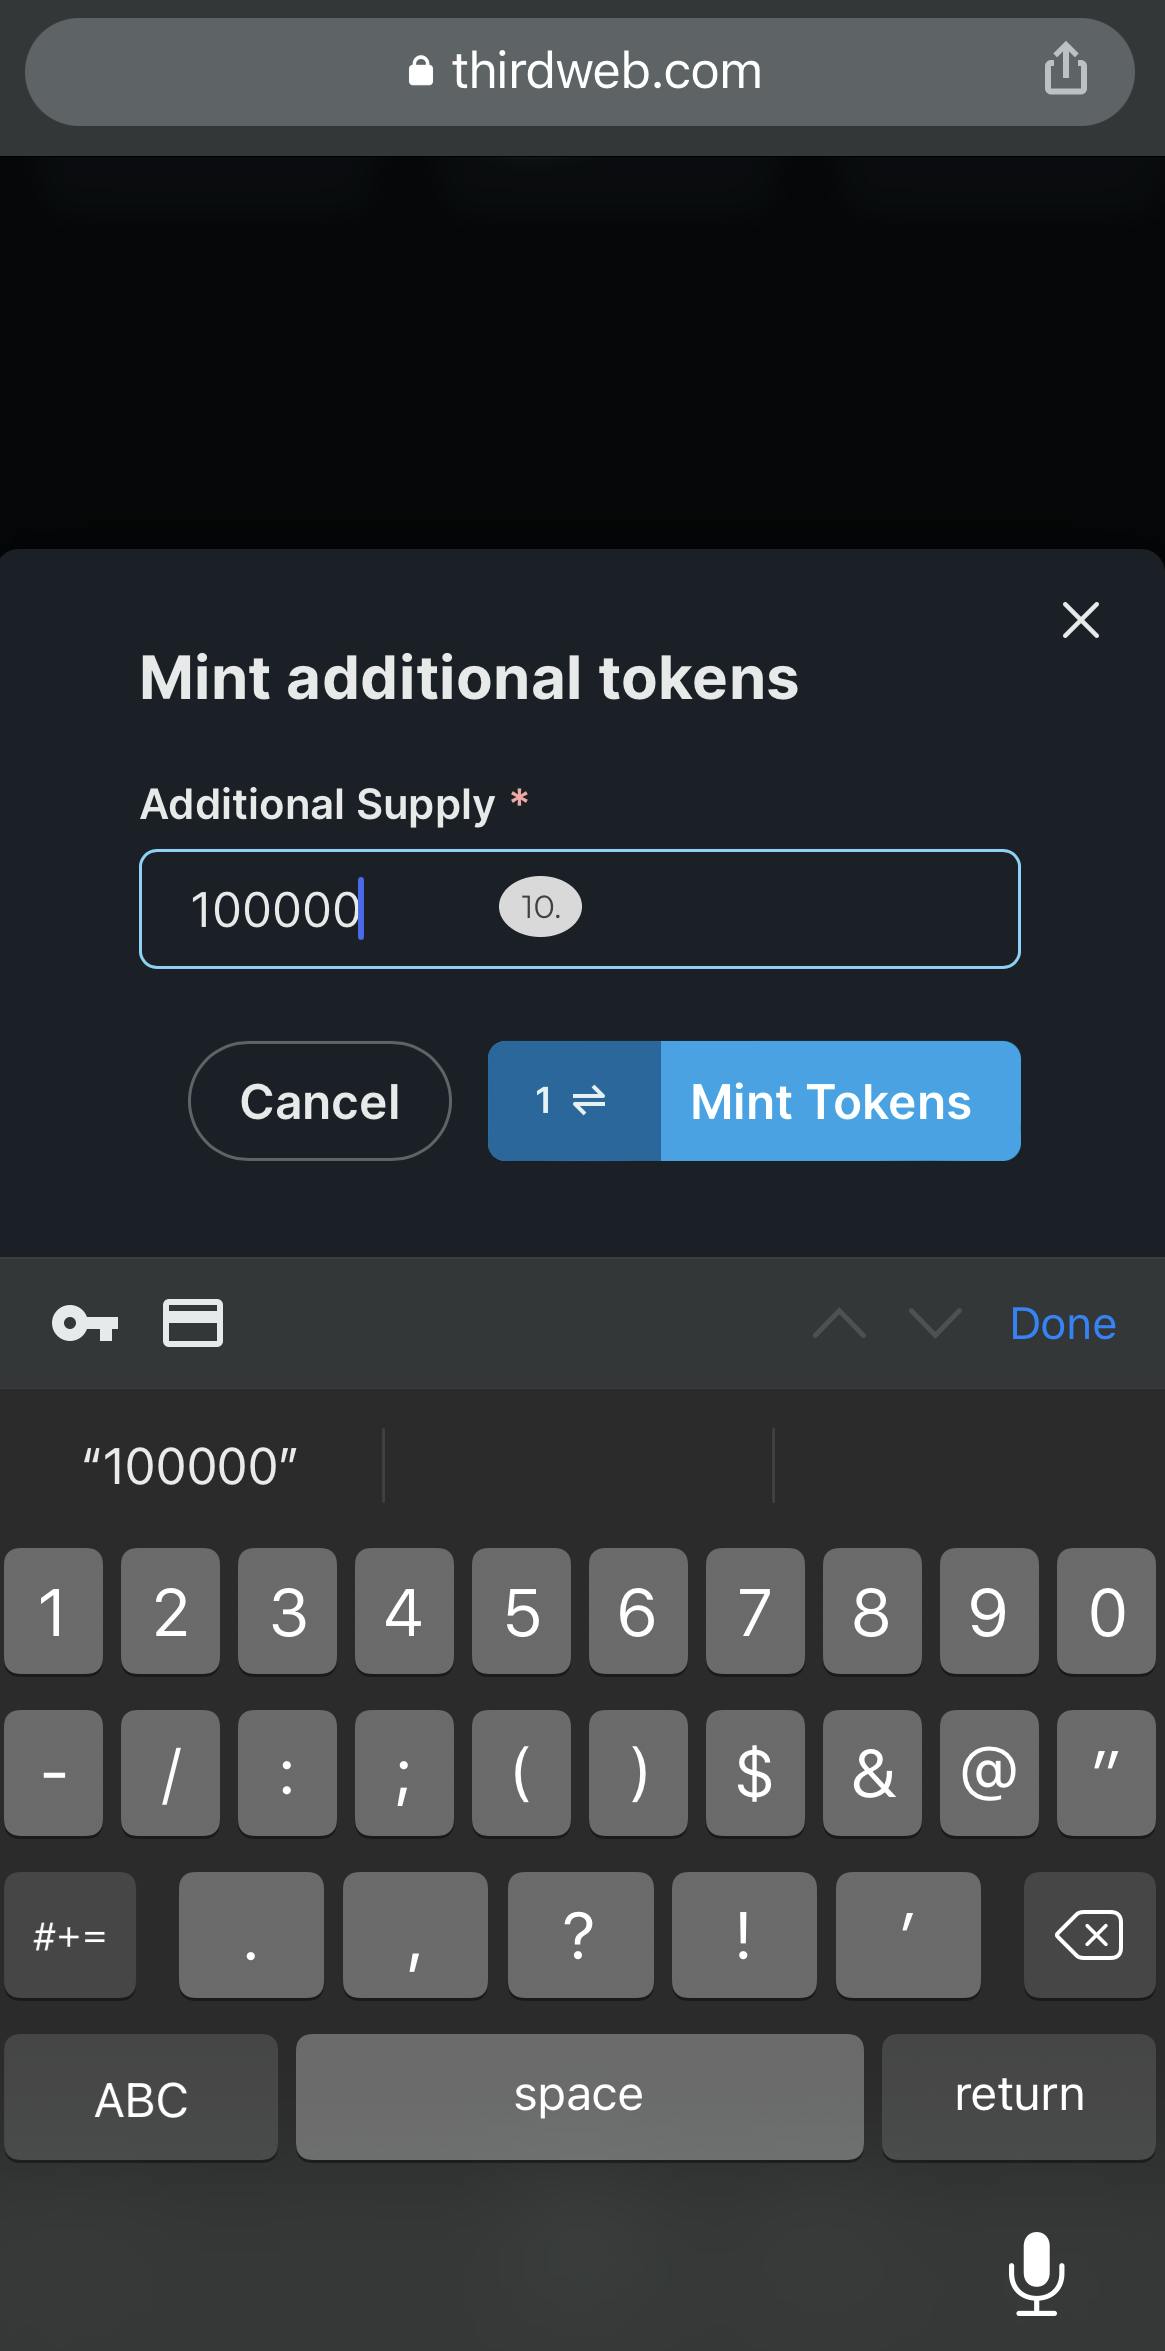
9. TADA! You deployed a smart contract for your own token. Now you may have noticed the total supply is 0. Click the ‘Mint’ button in the top right corner, and it will let you create some tokens.
10. I will create 100,000 tokens, but feel free to create as many as you want for your supply. Once you are ready, click the ‘Mint’ button.
11. Approve the transaction on your rainbow wallet for the creation of the tokens.

12. As you can see, you now have some tokens ready to be sent to your friends.
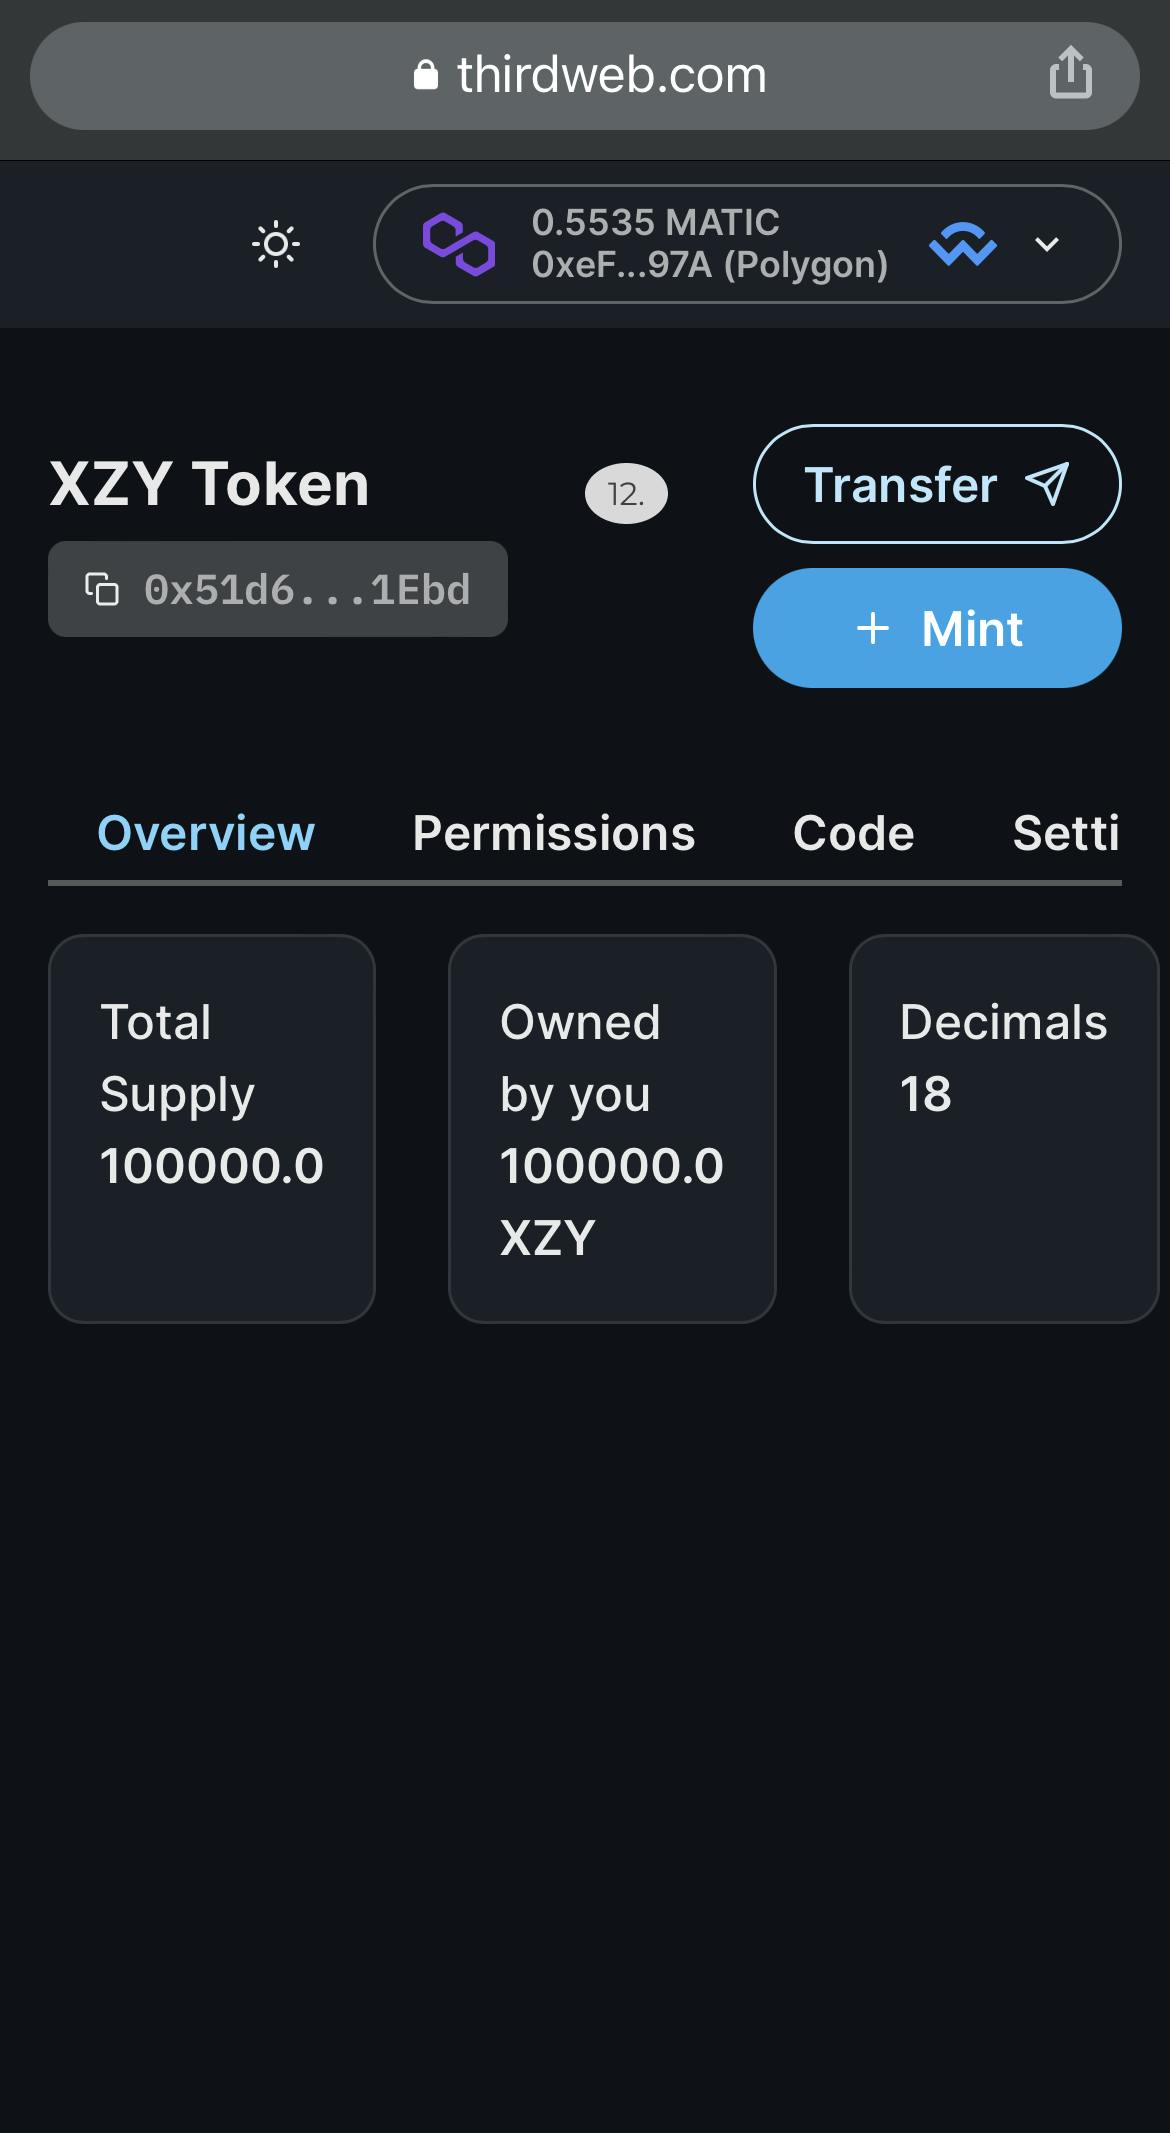
Now that we have created our Token. Let's use Third web to send some Tokens to a friend.
13. Click the ‘Transfer’ button.
Enter your friends' wallet address, and the amount you would like to send. Then click the ‘Transfer’ button.
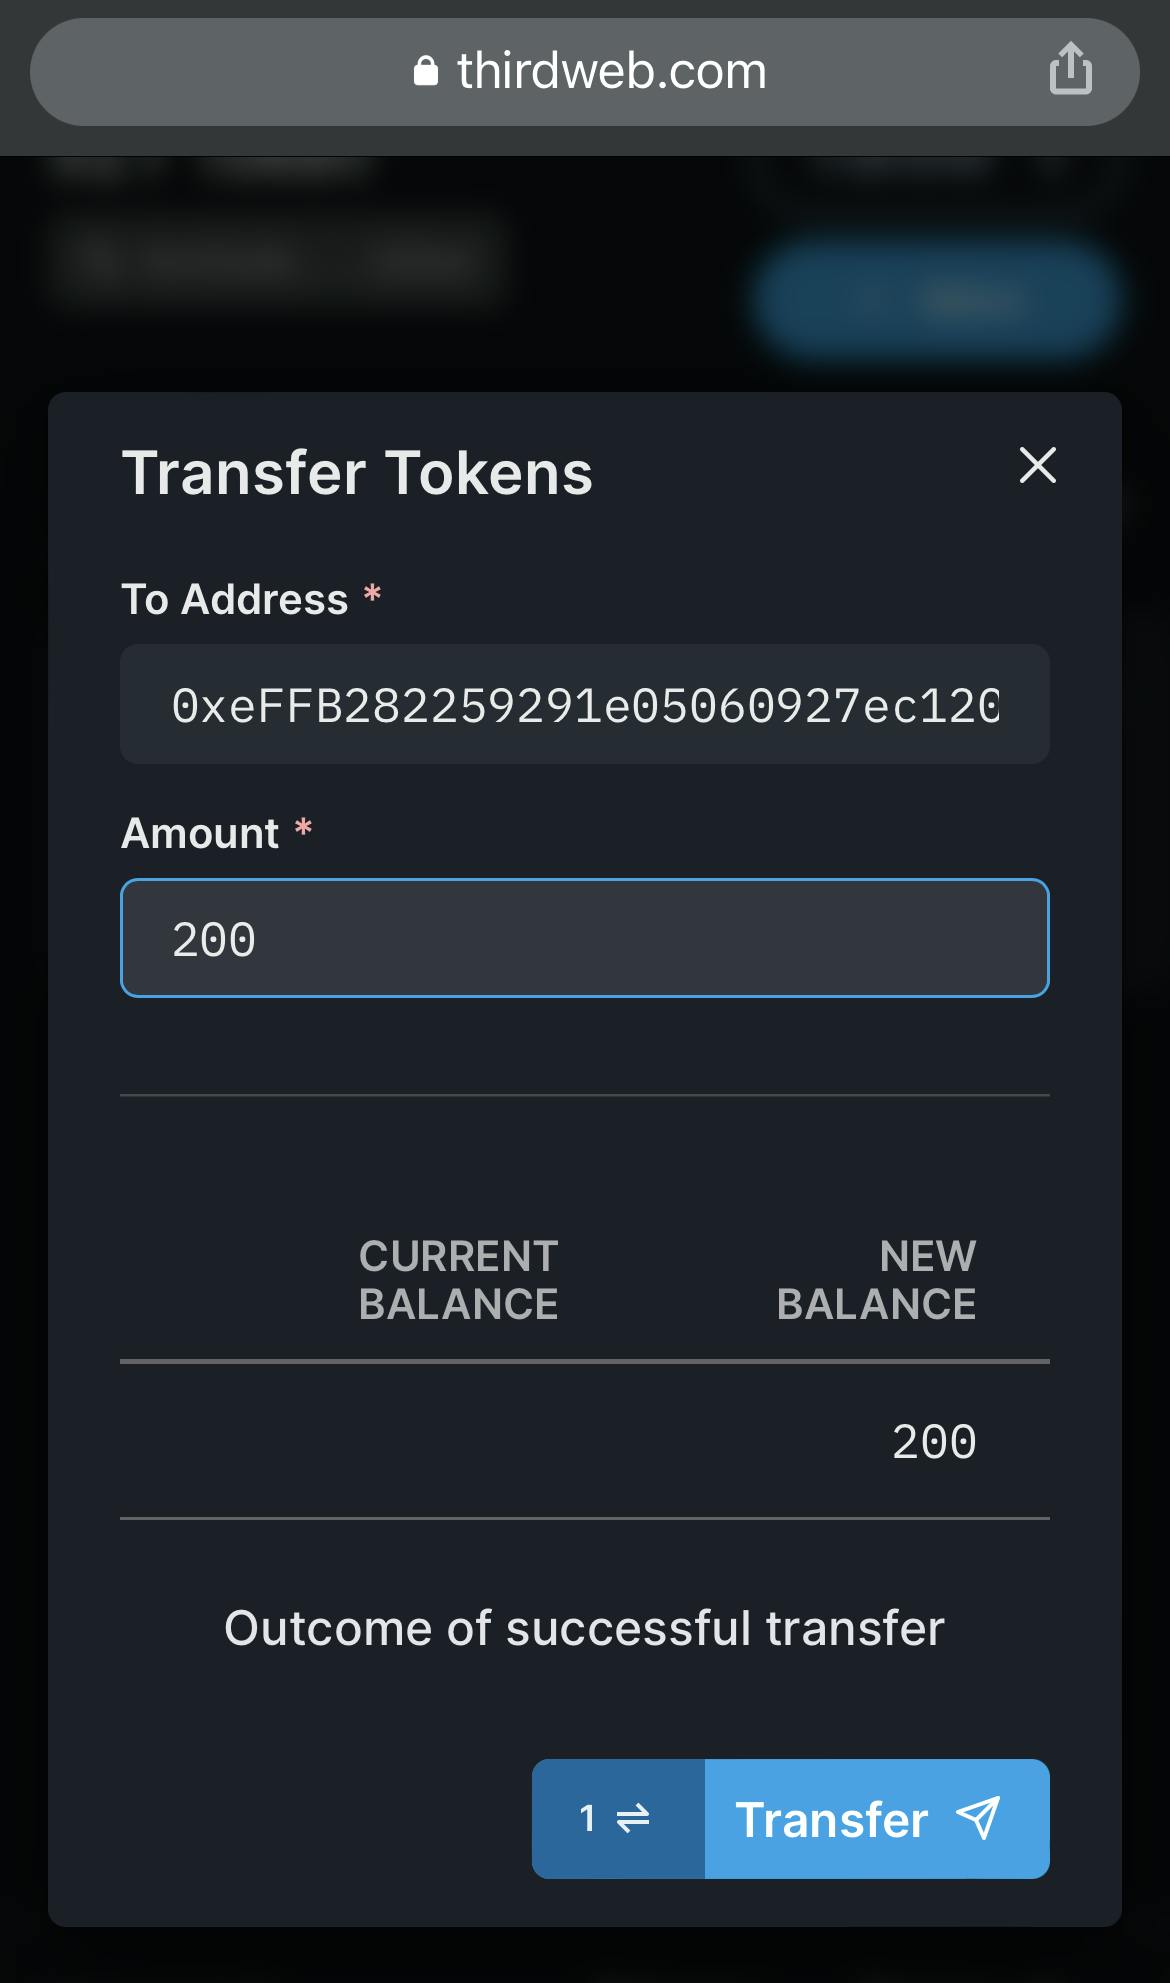
14. You will be now prompted to approve the transaction on your mobile wallet.
You must approve the transaction before Tokens will be transferred.

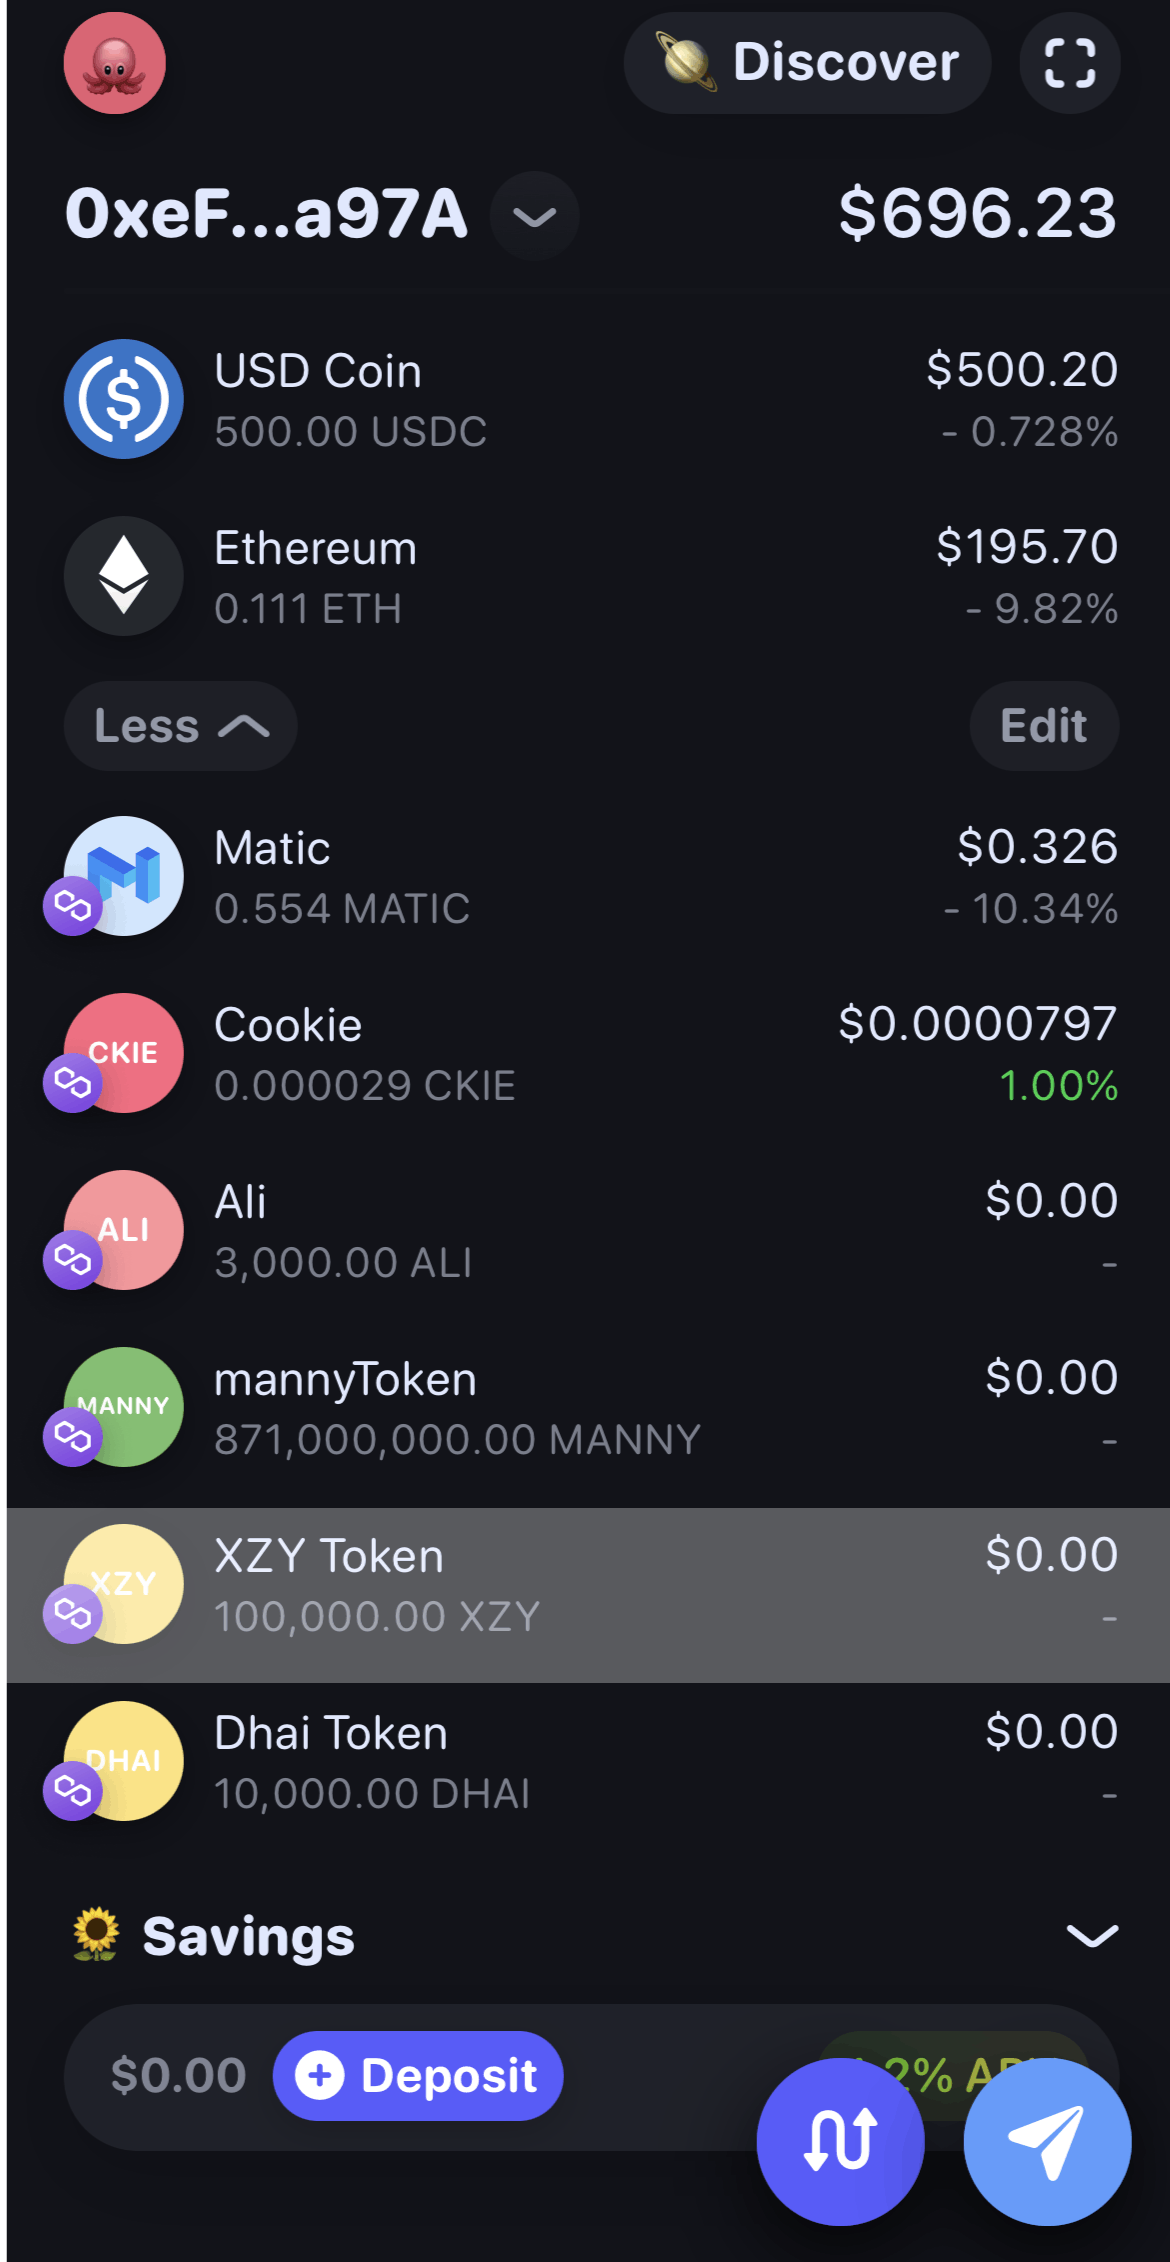
Another way you could transfer your Token is using your wallet directly.
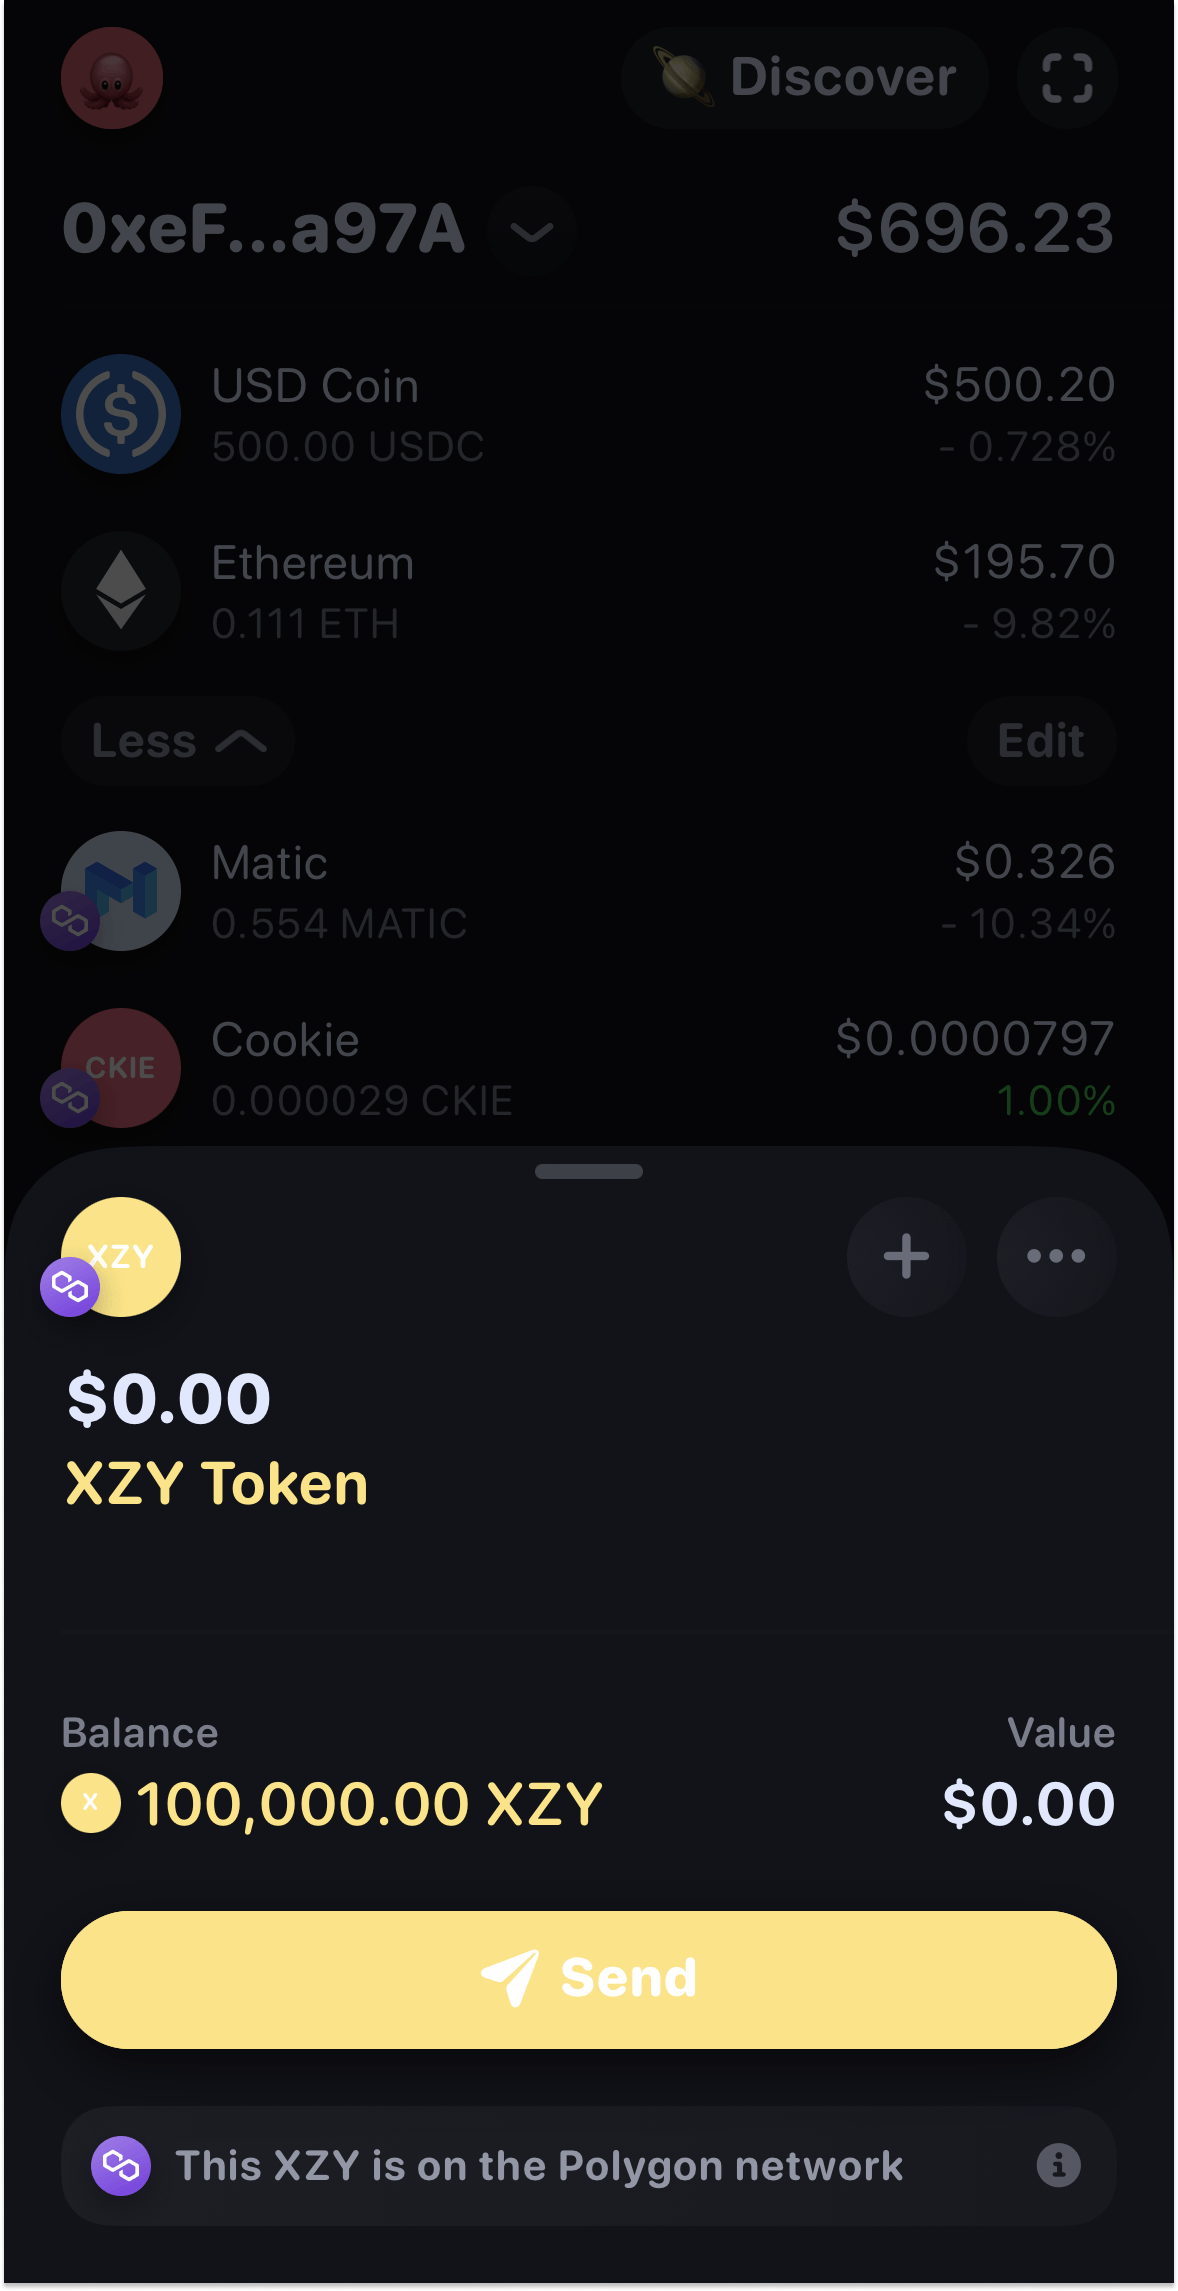
15. Find and click the token in your wallet you would like to send. (For this tutorial we created XZY).
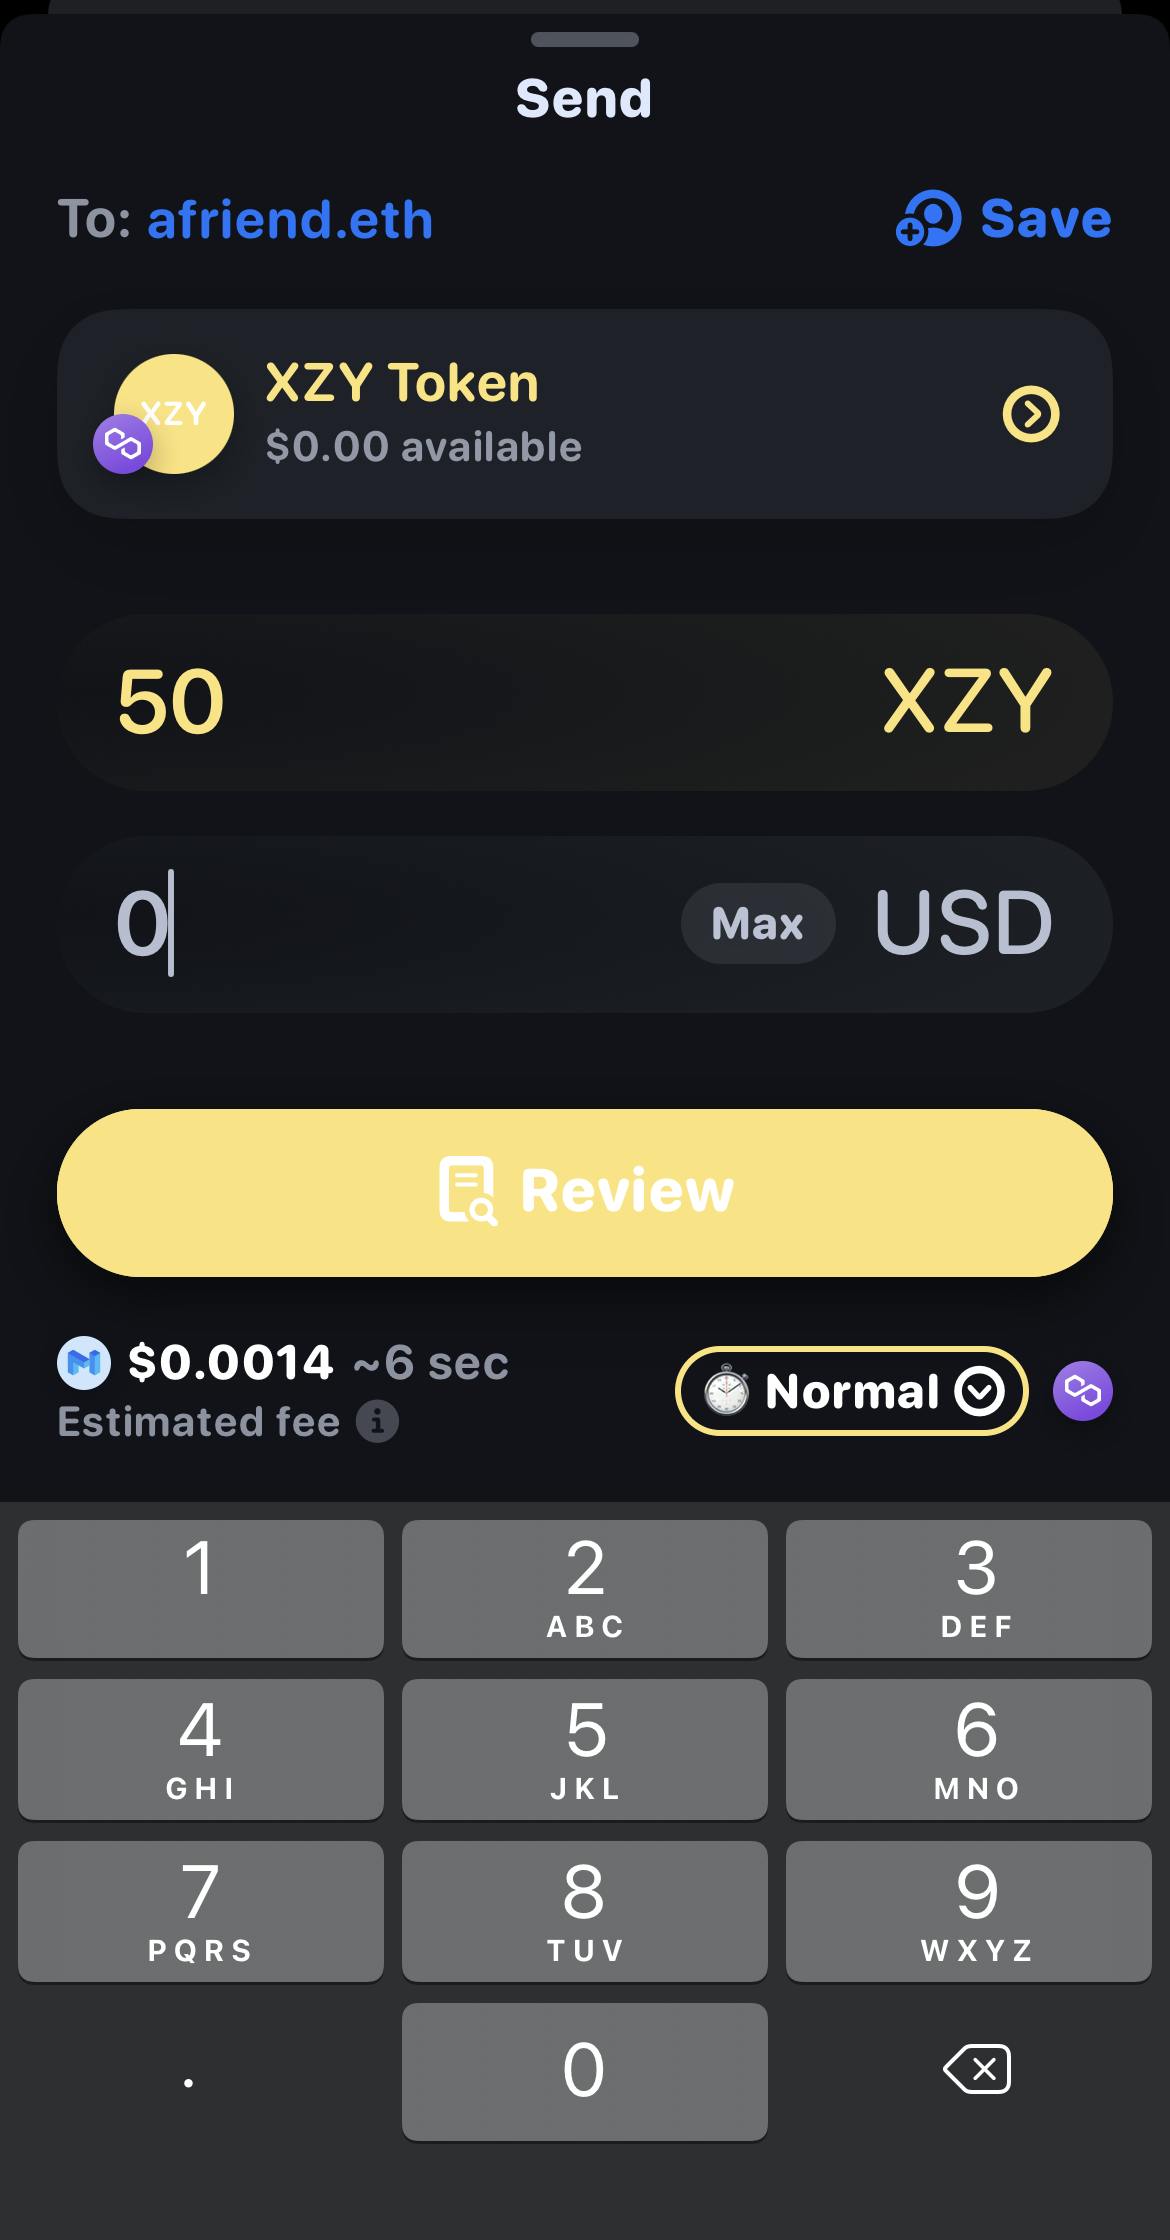
16 Once you have pressed send, you will be required to fill out the address you are sending the token to and the quantity.
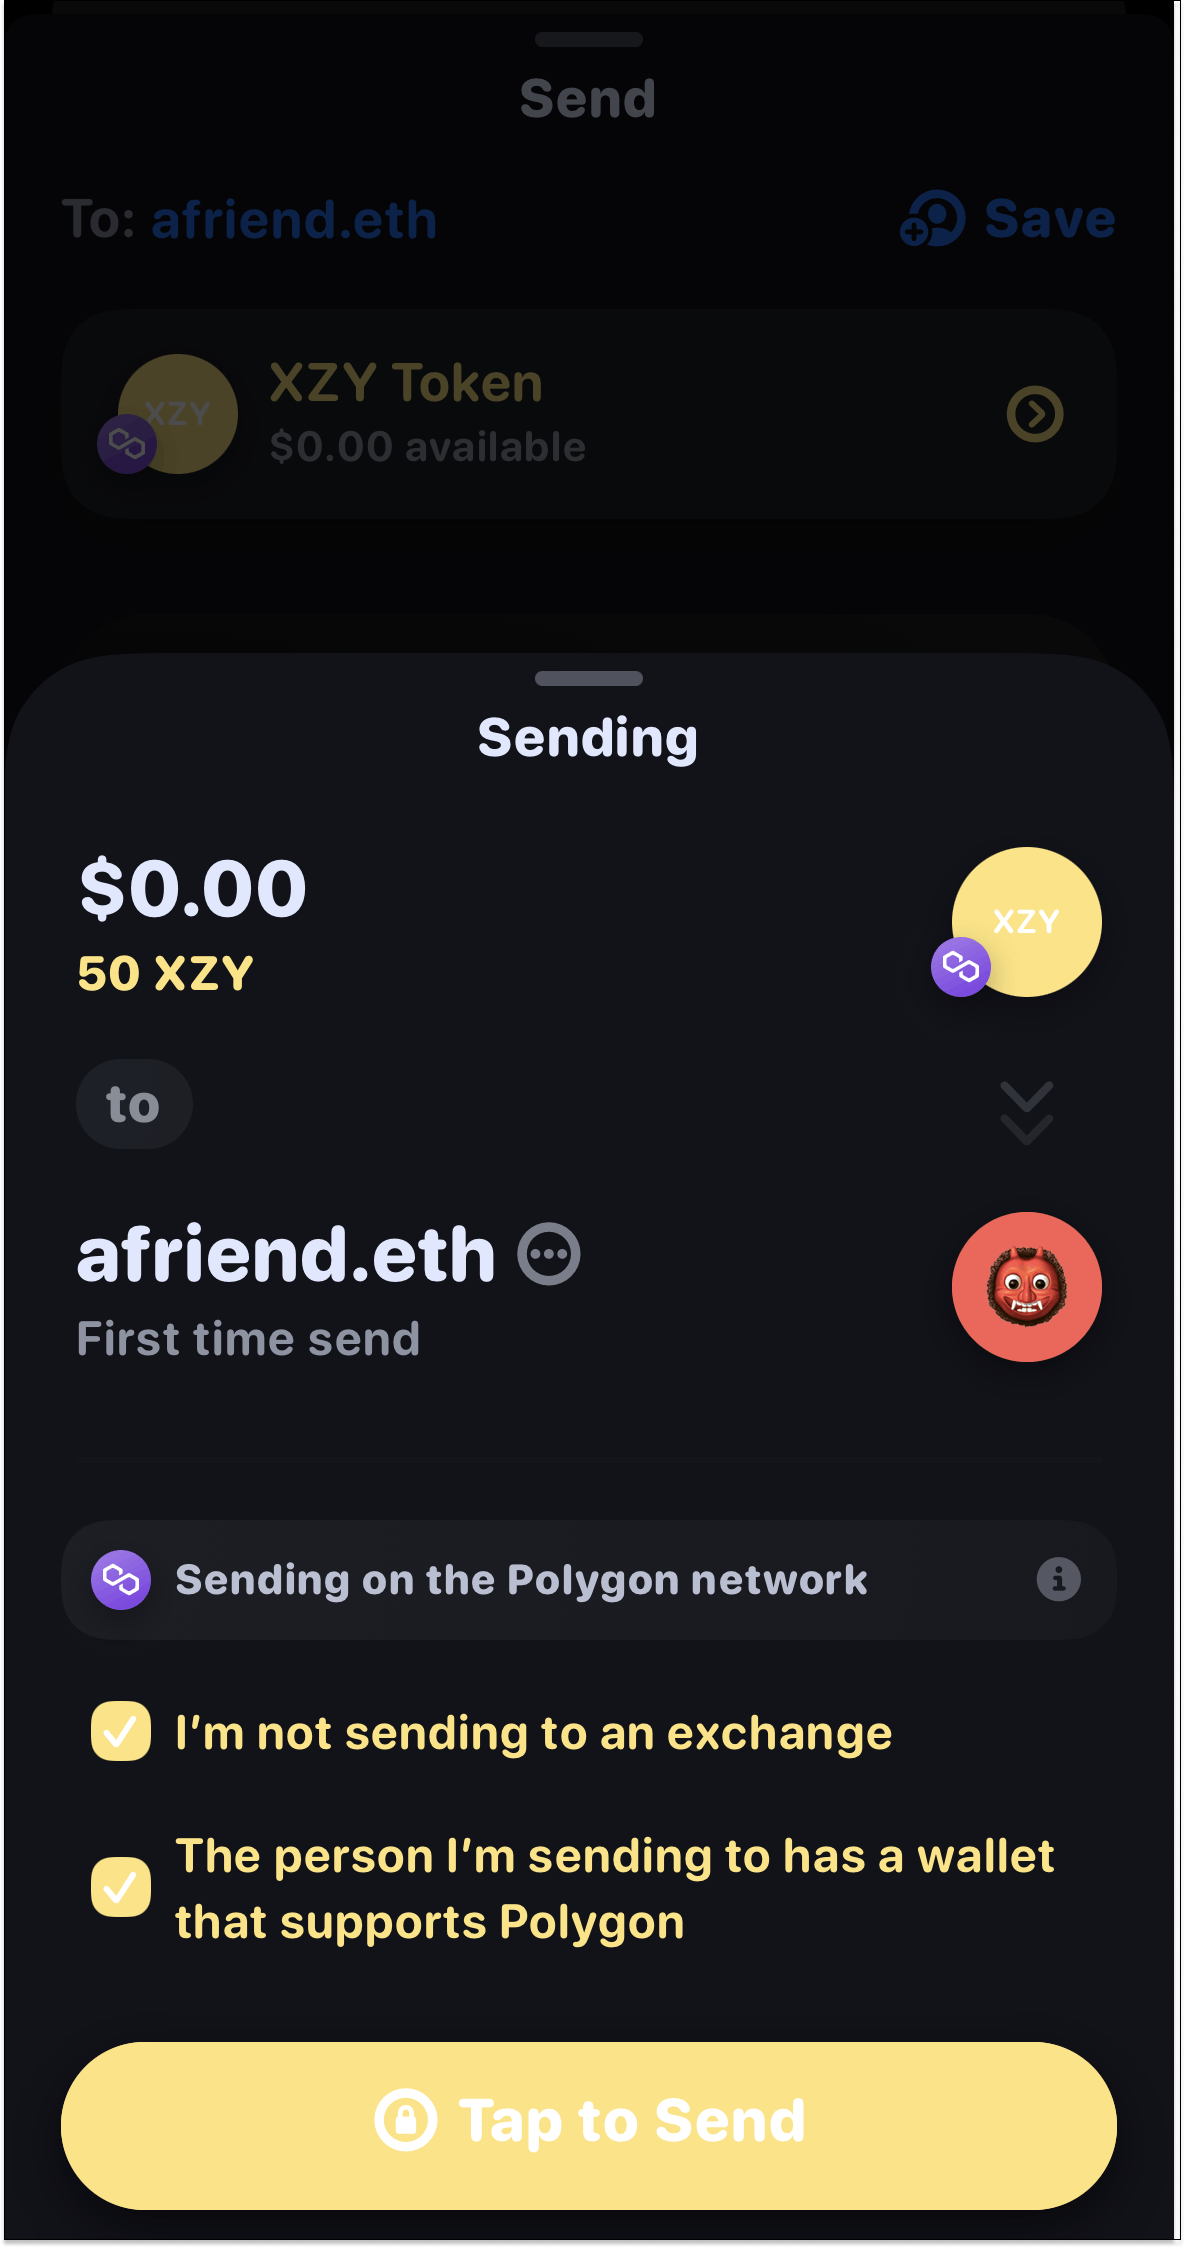
17. Agree to the policies and tap send.
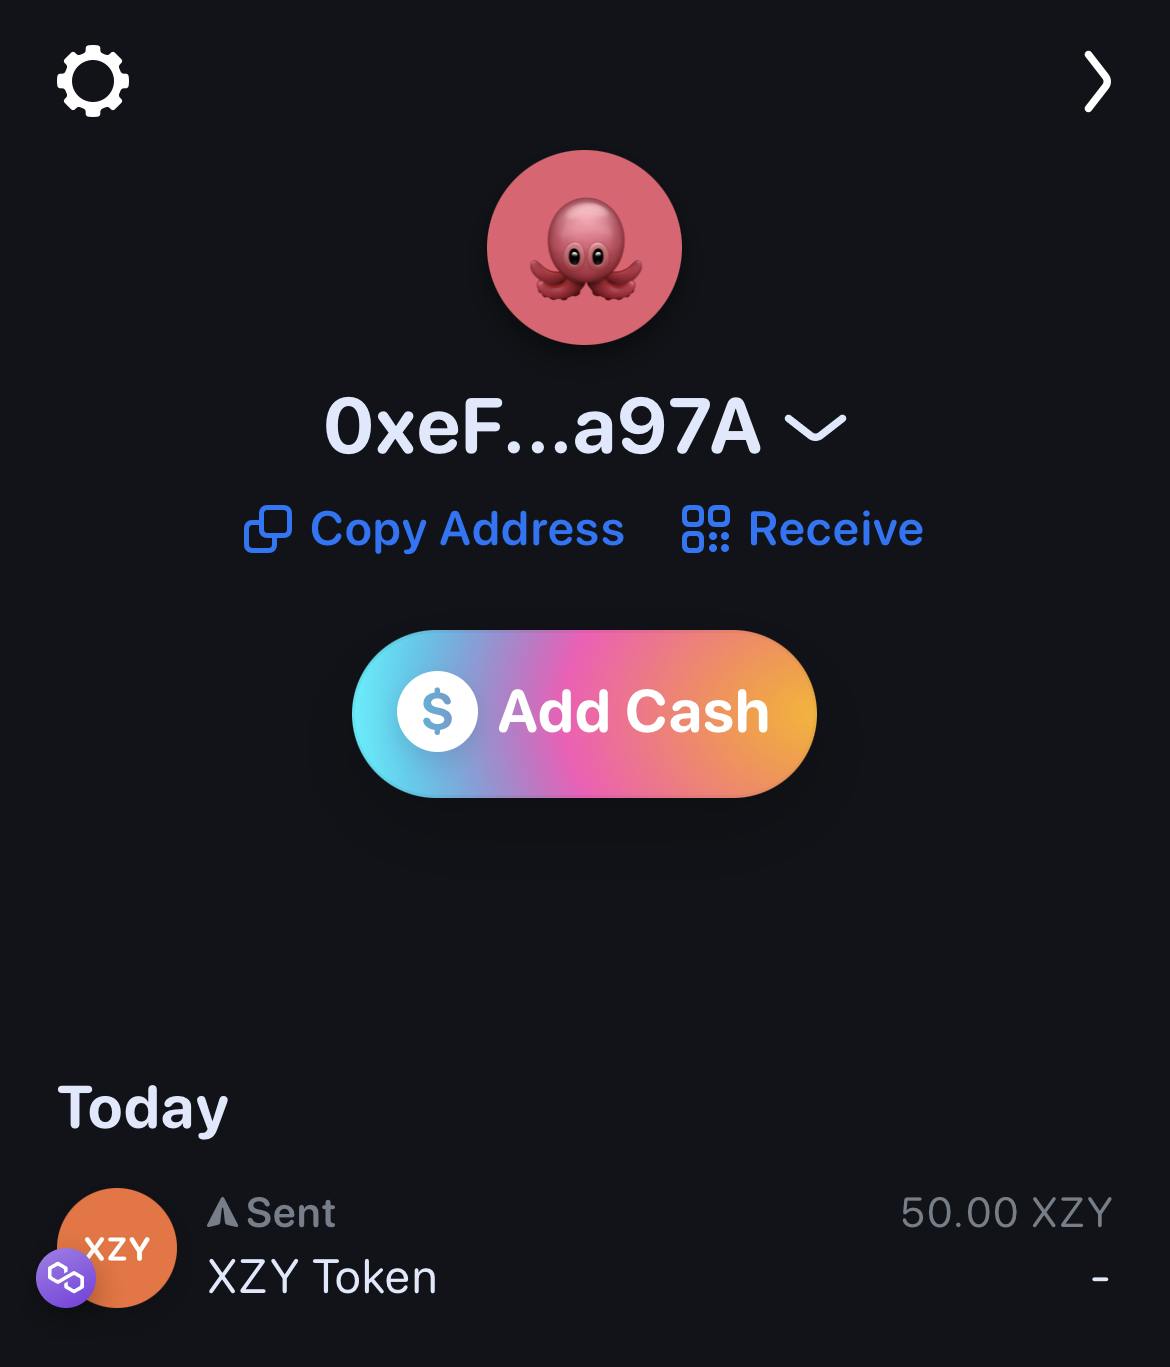
17. You will see the status in your wallet changed to sent once the transaction is complete.
Follow me here Manny N or Find me on Twitter @mannyornothing for more tutorials on all things web3.